Author: Job van Dieten < job.1994@gmail.com >, Sammy Pfeiffer < sam.pfeiffer@pal-robotics.com >, Jordi Pages < jordi.pages@pal-robotics.com >
Maintainer: Jordi Pages < jordi.pages@pal-robotics.com >
Support: tiago-support@pal-robotics.com
Source: https://github.com/pal-robotics/tiago_tutorials.git
| |
Pick & Place demo
Description: Tabletop pick & place demo using monocular model-based object reconstruction based on ArUco markers and the pick and place pipeline in MoveIt!Keywords: Grasping, Pick and place, motion planning, MoveIt!, AR marker detection, ArUco
Tutorial Level: ADVANCED
Contents
Purpose
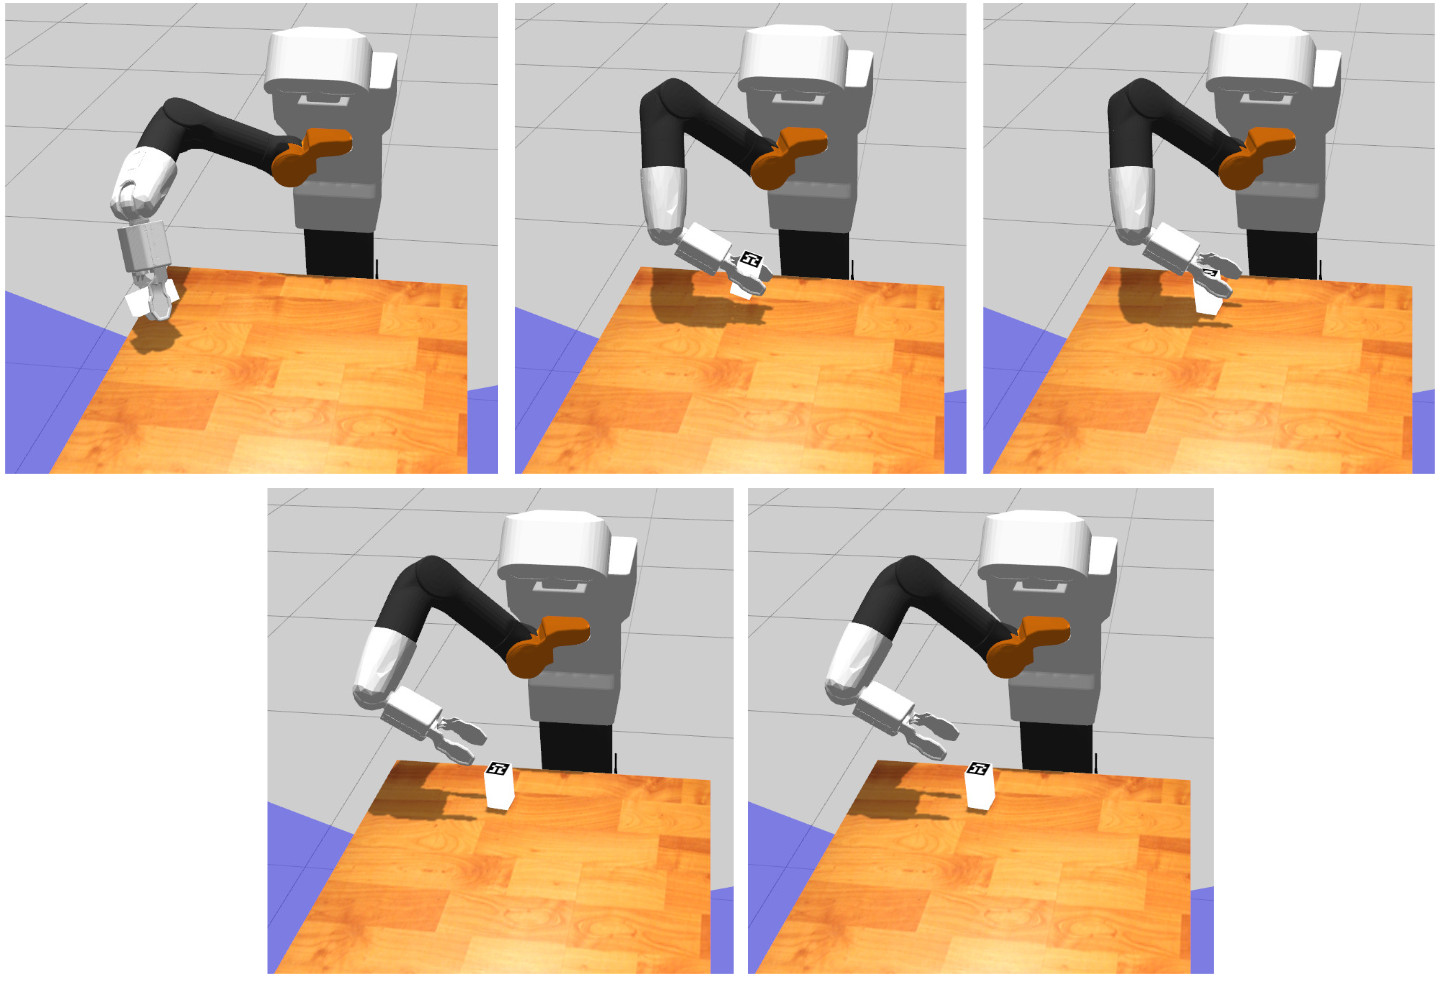
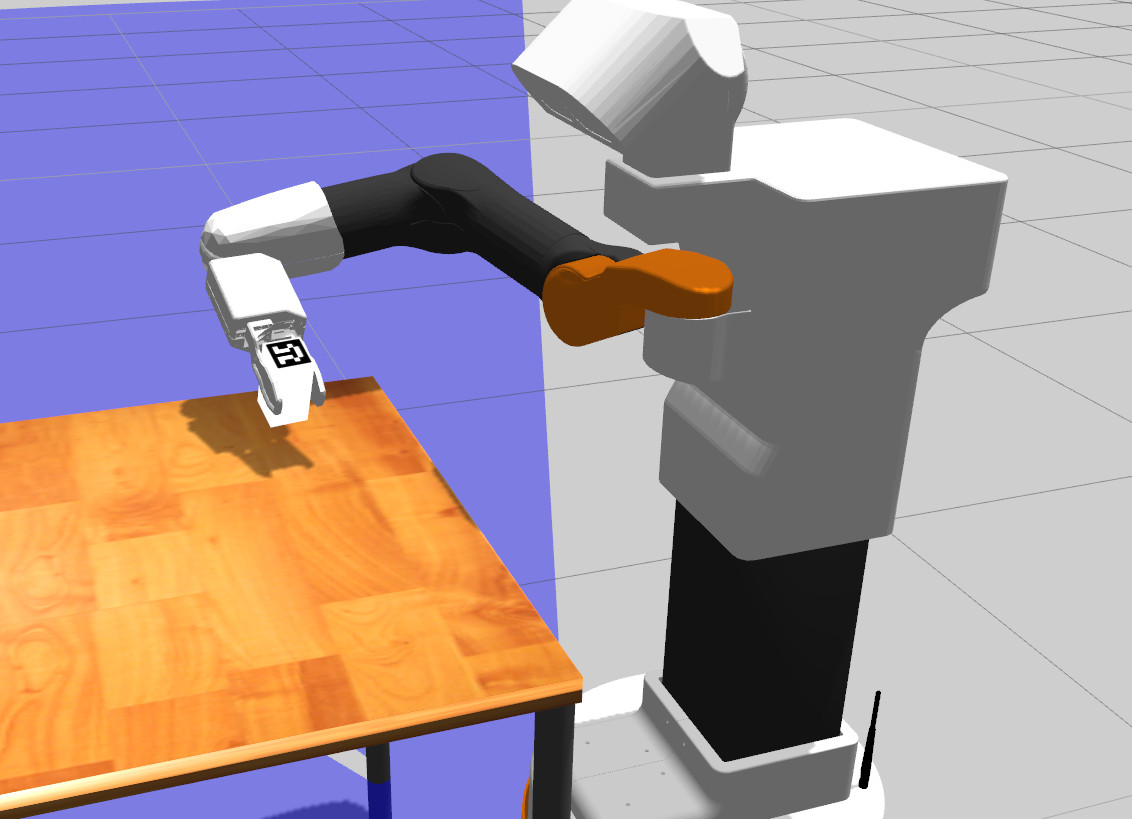
The purpose of this tutorials is to provide an example of grasping with TIAGo. A simulation environment comprising a table and a box with an ArUco marker is defined. The robot then locates the object in the RGB of its camera and reconstructs its 3D pose. Then, MoveIt! is used in order to plan a pick trajectory to grasp the object, which is then lifted up and finally a place trajectory is planned to restore the object in its former position.
Pre-requisites
First make sure that the tutorials are properly installed along with the TIAGo simulation, as shown in the Tutorials Installation Section.
Execution
First open three consoles and source the public simulation workspace as follows:
cd /tiago_public_ws/
source ./devel/setup.bash
Launching the simulation
In the first console launch the following simulation
roslaunch tiago_pick_demo pick_simulation.launch
Gazebo will show up with TIAGo in front of a table and the object with the ArUco marker on its top.
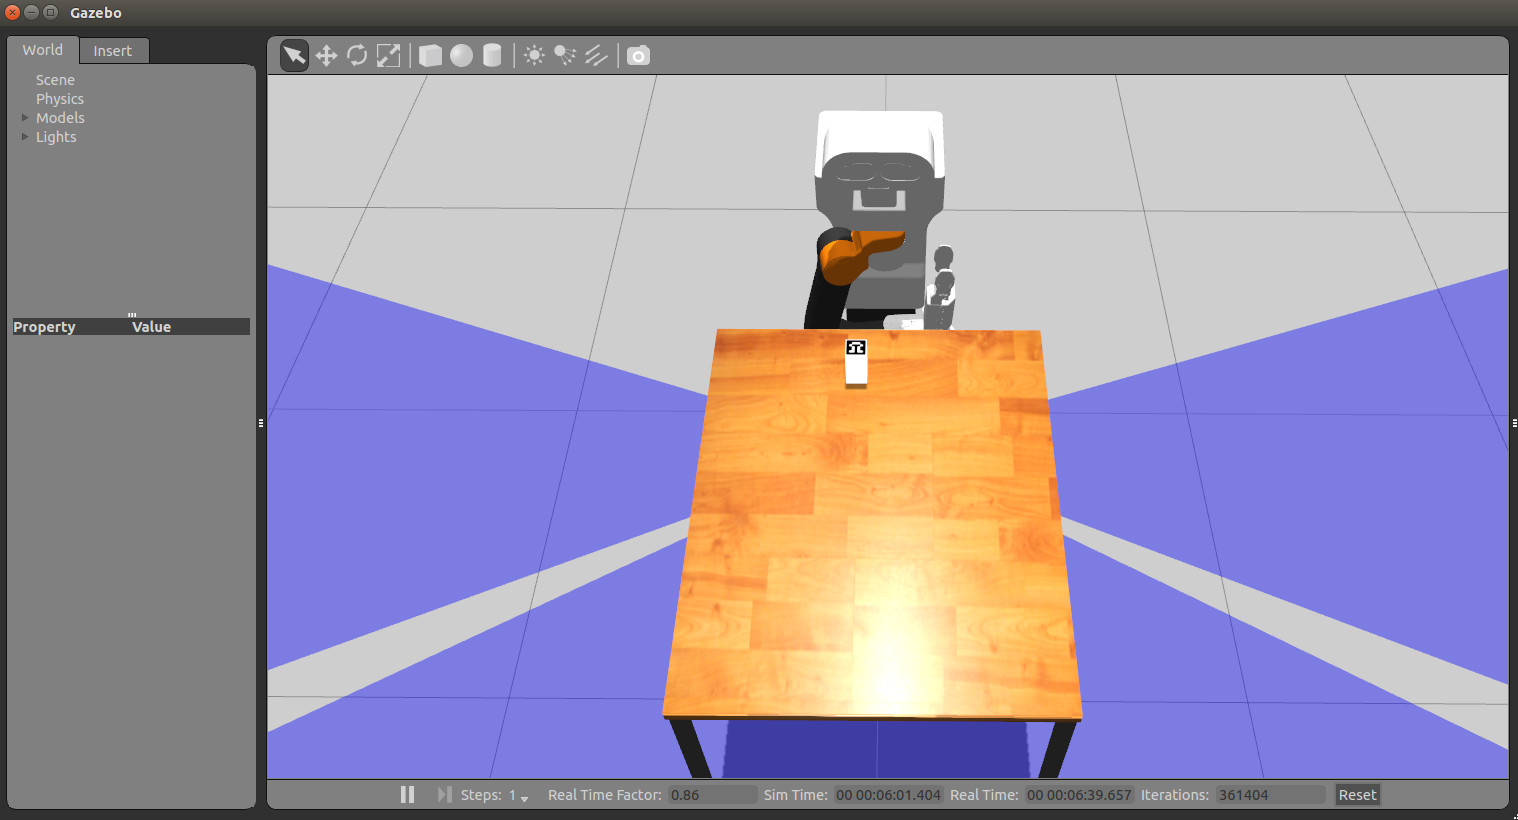
Wait until TIAGo has tucked its arm. Then you may proceed with the next steps.
Launching the nodes
In the second console, run the following instruction
roslaunch tiago_pick_demo pick_demo.launch
which will launch the following nodes
/aruco_single: ArUco marker detector node
/pick_and_place_server: node in charge of defining the planning scene, request pick and plans with MoveIt! and execute them.
/pick_client: node that prepares the robot for the object detection and the pick and place operations: raises the arm to a safe pose and lowers the head to look at the table. Then it waits until the object marker is detected and its pose is retrieved in order to send a goal to the /pick_and_place_server.
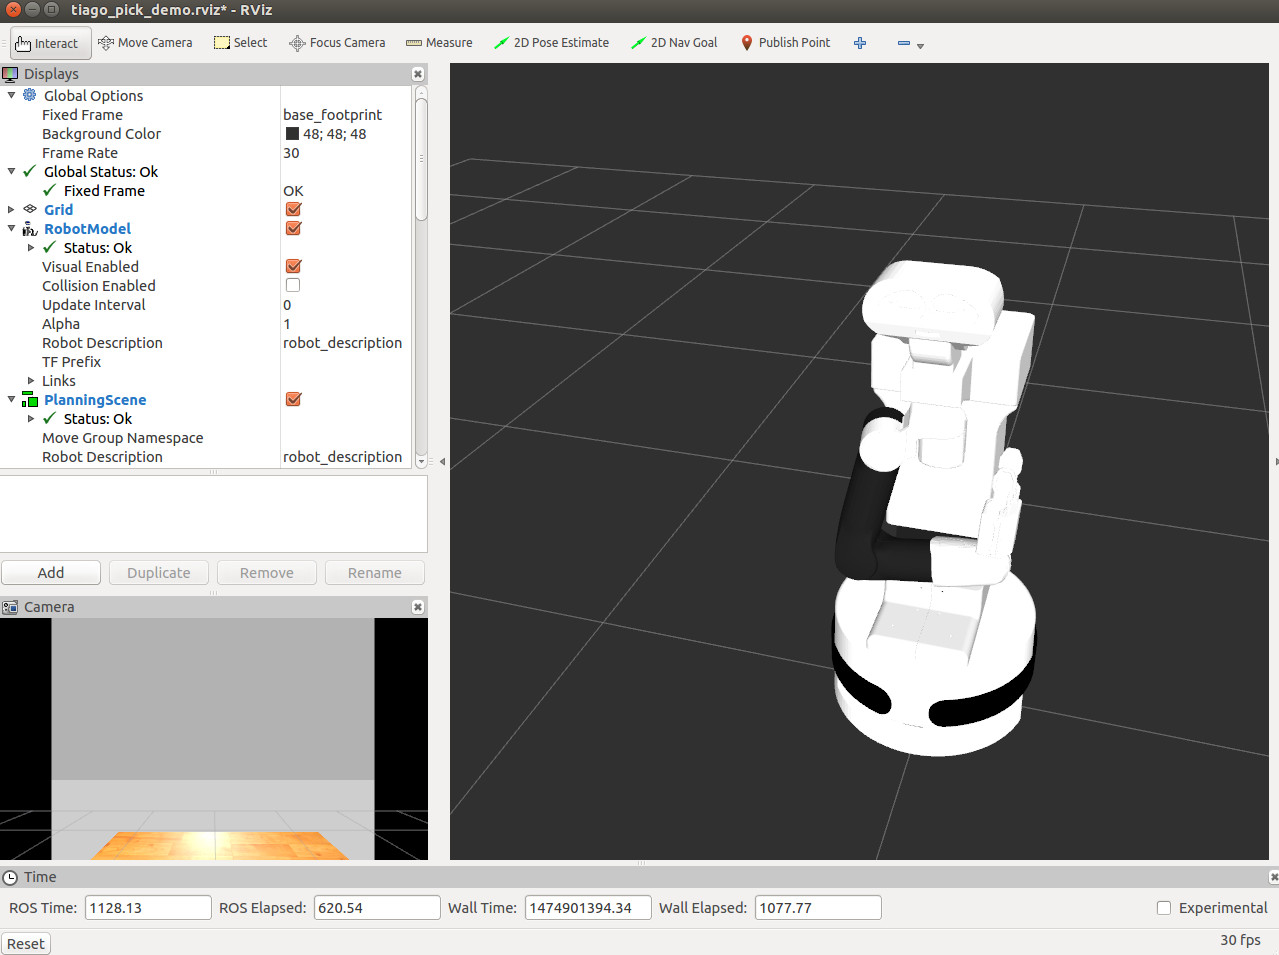
/rviz: in order to visualize all the steps involved in the demo.
Rviz will also show up to help the user visualize the different steps involved in the demo.
Starting the demo
Finally, in the third console the following service will be called in order to start the execution of the demo
rosservice call /pick_gui
This service will cause /pick_client node to first move TIAGo to a suitable pose to detect the object and to perform grasping. The torso of TIAGo will raise and the head will lower in order to look at the table. At this point, the ArUco marker will be detected and its estimated pose will be shown in rviz. If you have rendering problems to show the marker on rviz please update your graphics driver.
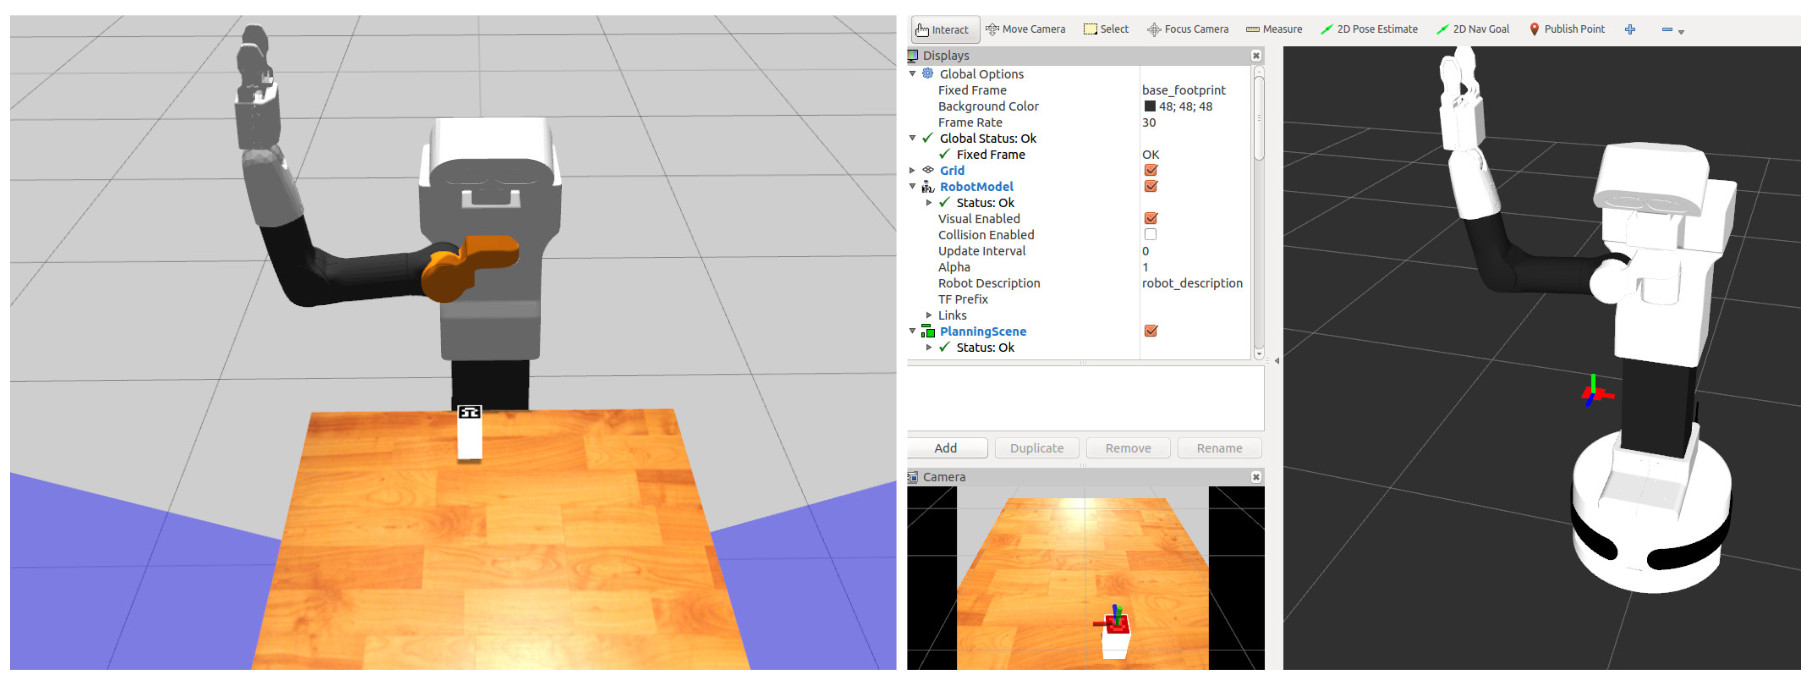
Once the marker is detected the geometry of the object will be reconstructed provided that the box dimensions are known beforehand. The object model will be added to the MoveIt! planning scene as well as a large box just below the object in order to represent the table.
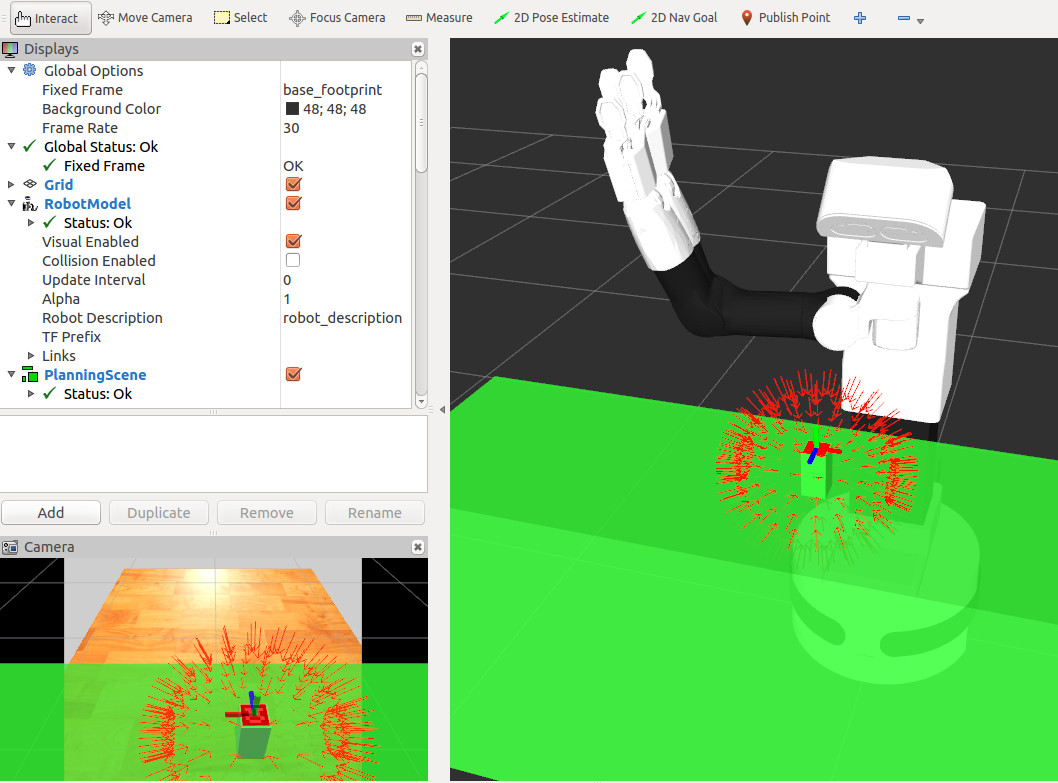
Once the planning scene is set up MoveIt! will plan multiple grasps and select the most suitable one. The different computed grasps are shown in the figure above as small red arrows, which represent the target pose of the frame /arm_tool_link suitable to perform a grasp.
An example of execution is shown in the following video:
Note that at each execution the selected plan will differ due to the random nature of the motion planners in MoveIt!. If the selected plan is good enough the next execution steps will be as follows. The robot first start executing the planned pick trajectory controlling the torso lift joint and the 7 degrees of freedom of the arm.
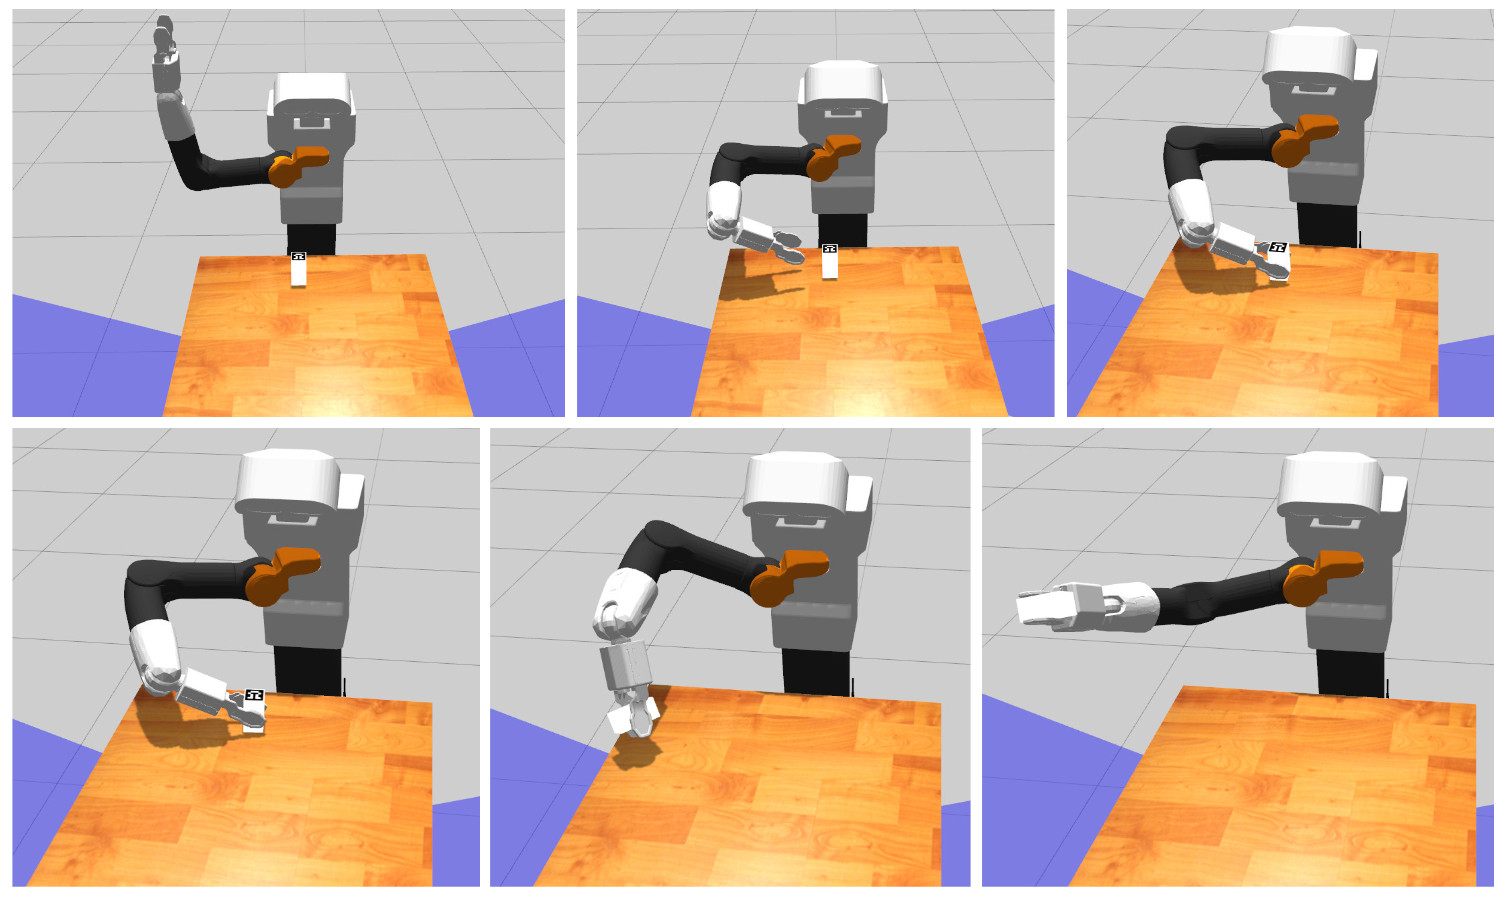
Once the object is grasped, the robot will lift it up. Afterwards, a place trajectory will be planned and run so that the object is left close to its initial position on top of the table.
