| |
Getting started with Articulation Models
Description: This tutorial guides you step-by-step through the available tools for fitting, selecting and displaying kinematic trajectories of articulated objects. We will start with preparing a text file containing a kinematic trajectory. We will use an existing script to publish this trajectory, and use the existing model fitting and selection node to estimate a suitable model. We will then visualize this model in RVIZ.Keywords: articulated objects, model fitting, model selection, RVIZ, kinematic trajectory
Tutorial Level: BEGINNER
Contents
Introduction
Articulation models describe the kinematic trajectories of articulated objects, like doors, drawers, and other mechanisms. Such models can be learned online and in real-time, while a robot is pulling a door open. The articulation stack in the ALUFR-ROS-PKG repository provides several functions for fitting, selecting, saving and loading articulation models. In this tutorial, we will show you with a simple, non-programming example what articulation models are, how you can use the articulation stack to find good models for a given trajectory, and how you can display it in RVIZ for visual inspection.
Download and Compile
All we need for this tutorial is the articulation_rviz_plugin and its dependency. We assume that you have already installed the basic components of ROS, and checked out the ALUFR-ROS-PKG repository at Google Code.
cd ~/ros
svn co https://alufr-ros-pkg.googlecode.com/svn/trunk alufr-ros-pkg
For compilation, type
rosmake articulation_rviz_plugin
which should build (next to many other things) the RVIZ , the articulation_models and the articulation_rviz_plugin package.
Create a trajectory file
As a first step, we need a kinematic trajectory of an object. You might record this trajectory from the forward kinematics of your manipulation robot, or by visually tracking a door handle (or record a movie of a checkerboard attached to the handle). The trajectory needs at least to contain the 3D Cartesian position [x y z], but may optionally include an orientation (specified as a quaternion [w x y z]).
For this tutorial, we assume that we already have recorded a short trajectory of a door, using checkerboard markers.
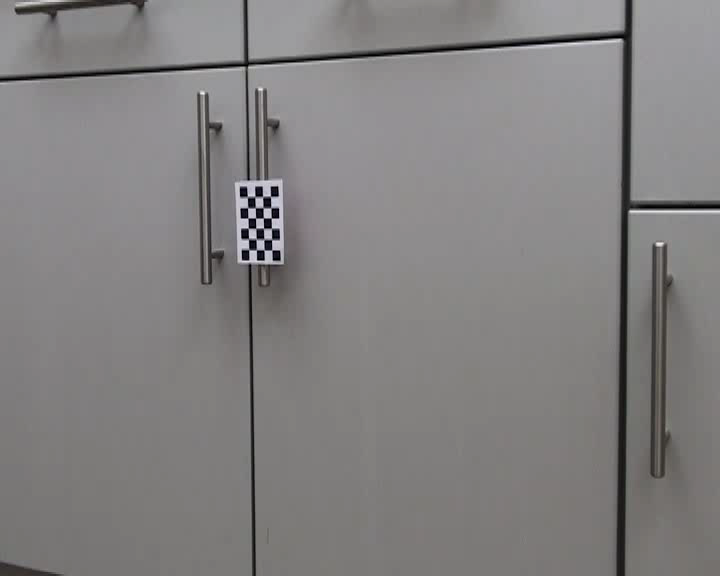
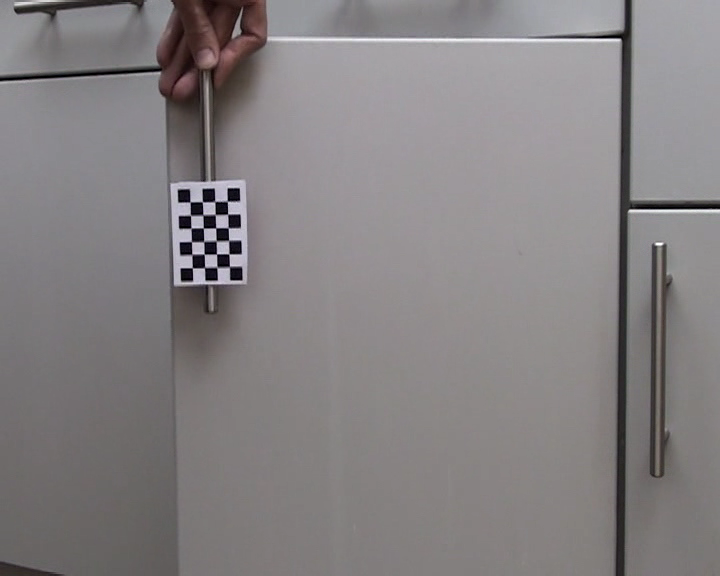
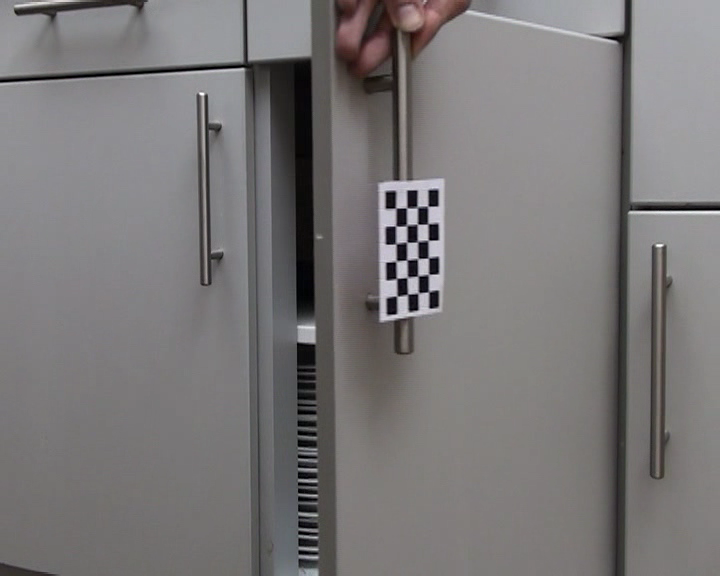
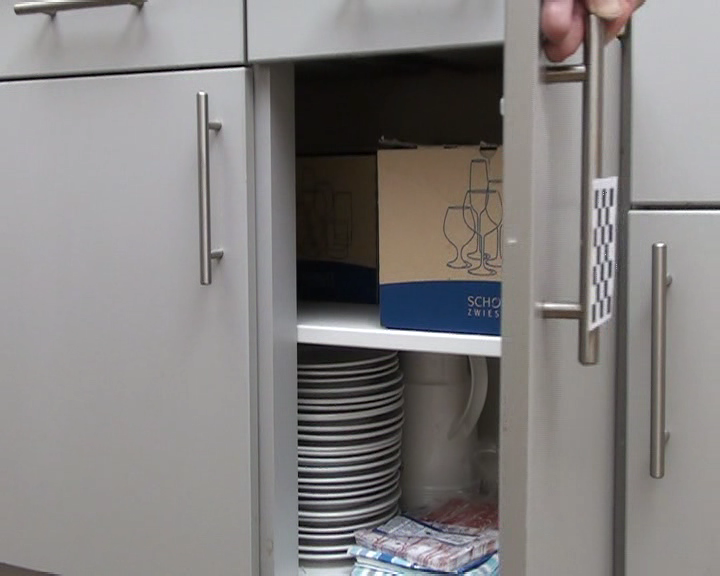
As a first step, create a text file containing the trajectory, by executing:
cat > trajectory.log << EOF
 -0.000211 0.000226 0.000548
 0.000475 0.000105 0.000183
 -0.000467 0.001613 0.000023
 0.000833 -0.000129 0.000263
 -0.000380 0.001457 -0.000060
 0.000592 0.000258 -0.000198
 0.000032 0.000962 -0.000001
 0.001110 -0.000461 -0.000078
 0.000679 -0.000378 0.000118
 0.000091 -0.000487 0.000078
 -0.000379 -0.000008 -0.000032
 0.002296 -0.009194 -0.000012
 0.003431 -0.016893 0.000088
 0.006987 -0.031642 0.000371
 0.020534 -0.073901 0.000661
 0.038169 -0.115426 0.001300
 0.056715 -0.145247 0.001556
 0.072426 -0.167383 0.001796
 0.089206 -0.186970 0.002043
 0.108960 -0.207335 0.002061
 0.127454 -0.223969 0.002156
 0.148152 -0.240283 0.002760
 0.157961 -0.240944 0.003263
 0.181259 -0.254813 0.003278
 0.210532 -0.267678 0.003626
 0.231252 -0.274326 0.003957
 0.262739 -0.282007 0.004307
 0.277567 -0.285150 0.004428
 0.290302 -0.286730 0.004544
 0.304030 -0.289071 0.004612
 0.316746 -0.289328 0.005105
EOF
Add a trajectory display to RVIZ
First, we will bring up roscore (if it is not already running), by typing
roscore
Now, in a new console, start RVIZ:
rosrun rviz rviz
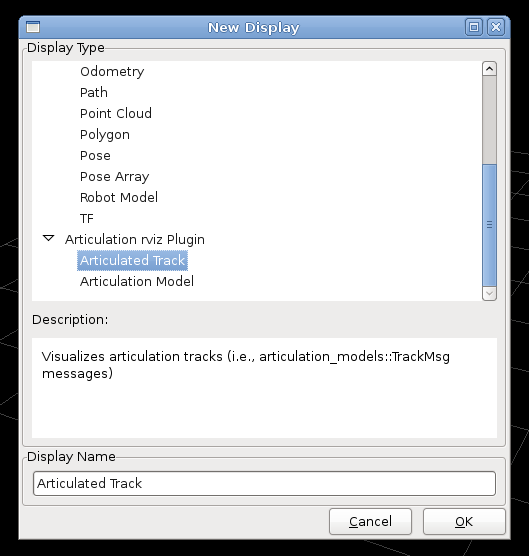
In RVIZ, now add a articulated track display, and keep the default values (i.e., subscribe to the /track topic):
Play back the trajectory
Now we will play back the kinematic trajectory saved in the file trajectory.log from Step 2, by executing
rosrun articulation_models simple_publisher.py trajectory.log
The simple_publisher.py script will publish articulation_msgs/TrackMsg messages to the /track topic. The RVIZ track plugin receives these messages, and display them accordingly:
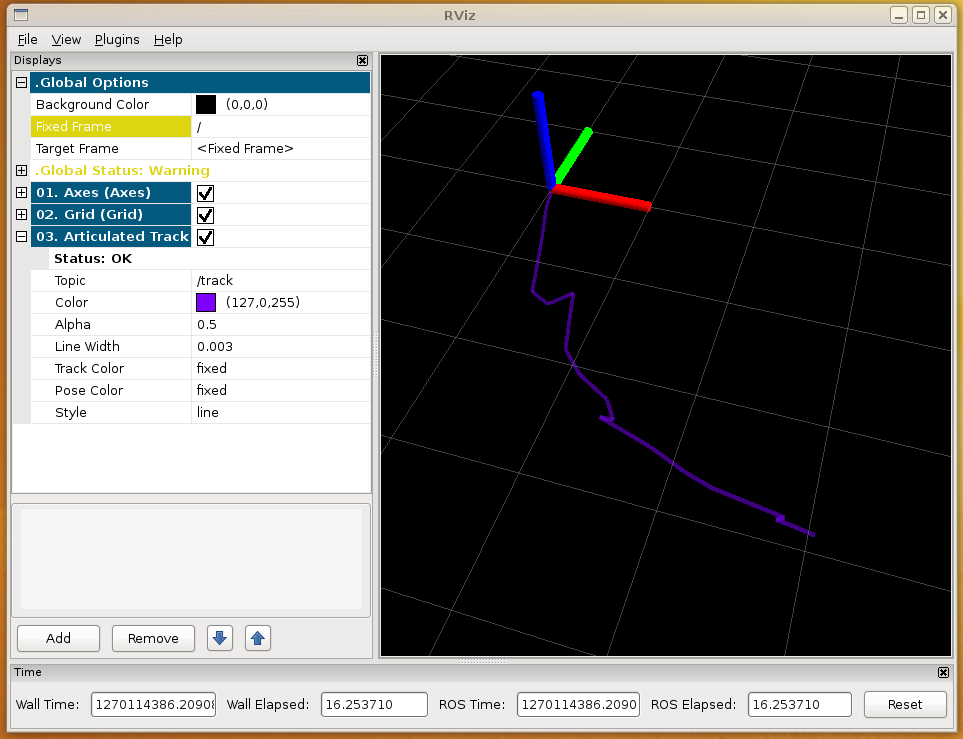
Note that you need to call the simple_publisher repeatedly when you change the settings in RVIZ:
rosrun articulation_models simple_publisher.py trajectory.log
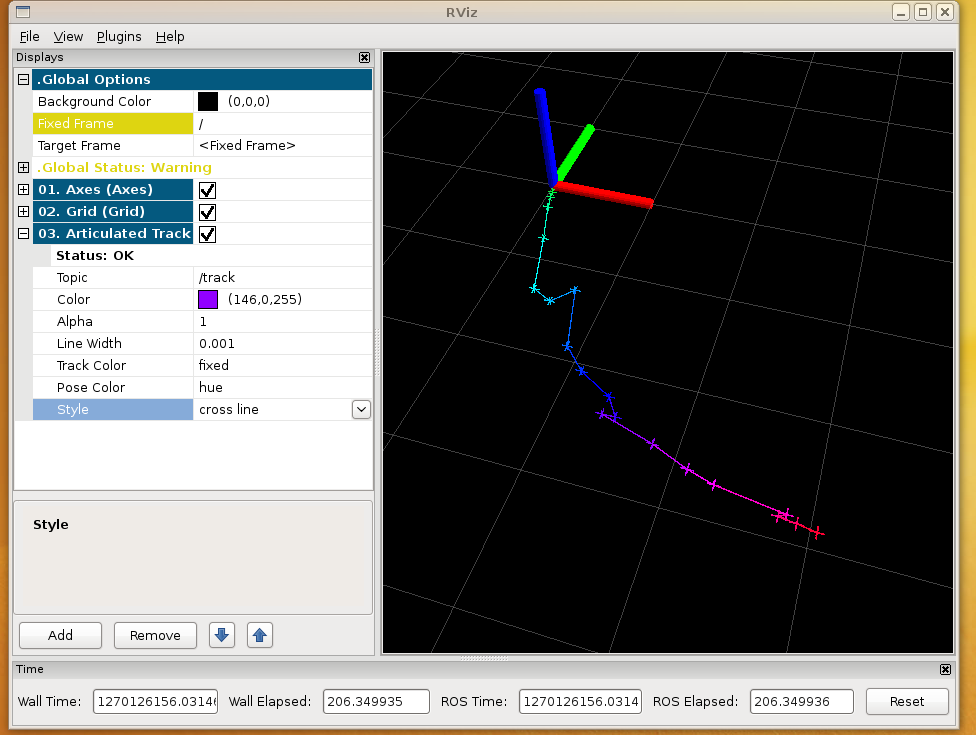
You can change the color, the transparency, the line width and the display style by modifying the corresponding properties from the plugin's options. In the following example, the trajectory is displayed as a "cross line", and the individual trajectory segments are colored according to their sequence number.
Add a model display to RVIZ
Now add a model display to RVIZ:
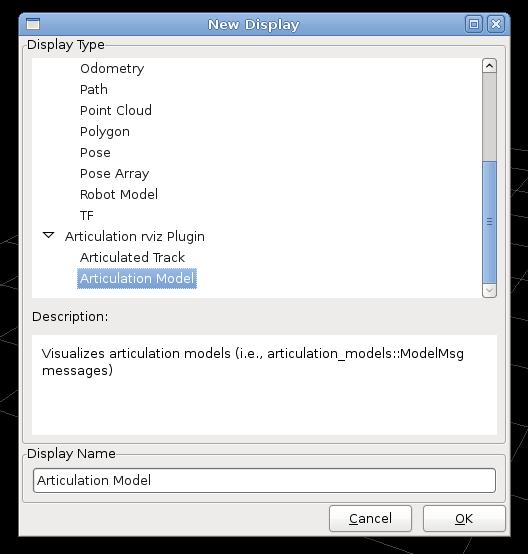
By default, the model display receives articulation_msgs/ModelMsg messages on the /model topic.
Learn the articulation model
Now start the model learner node (model_learner_msg) from the articulation_models package. The model learner subscribes to articulation_msgs/TrackMsg messages on the /track topic. It fits all known model classes to received trajectory, and select the one with the highest BIC (Bayesian Information Criterion) score. This score is based on the data likelihood and a model complexity penalty. The node subsequently publishes the selected model of type articulation_msgs/ModelMsg on the /model topic.
rosrun articulation_models model_learner_msg
Now run again the simple_publisher, to publish our trajectory. The model learner node will receive it and publish the model, that RVIZ will subsequently display.
rosrun articulation_models simple_publisher.py trajectory.log
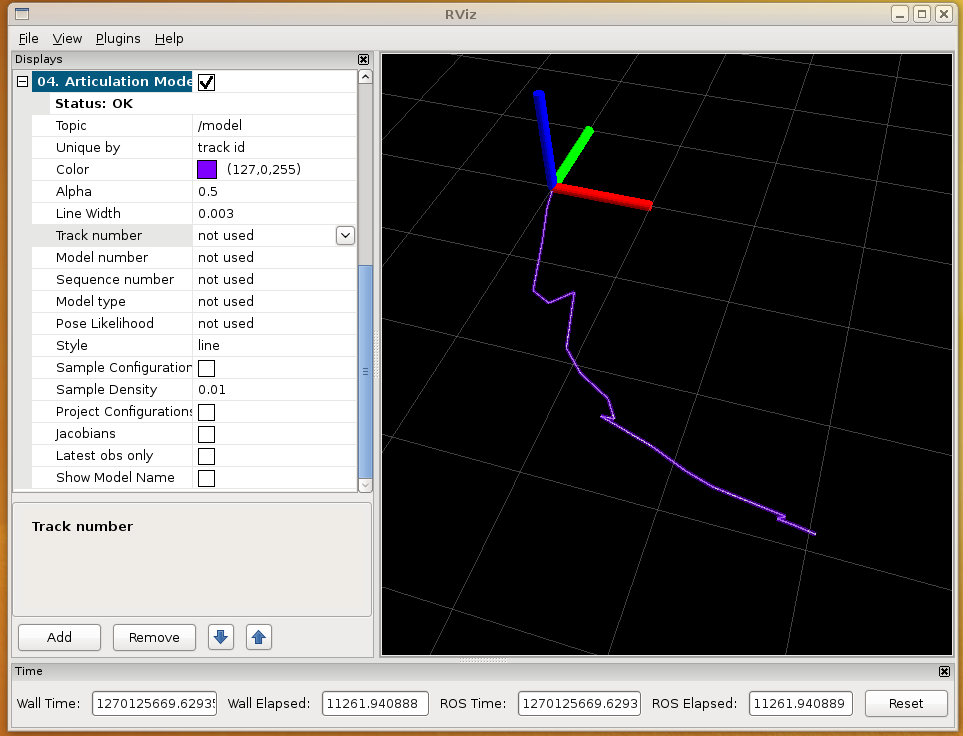
With the default settings, the model display will basically show the same trajectory as the track display:
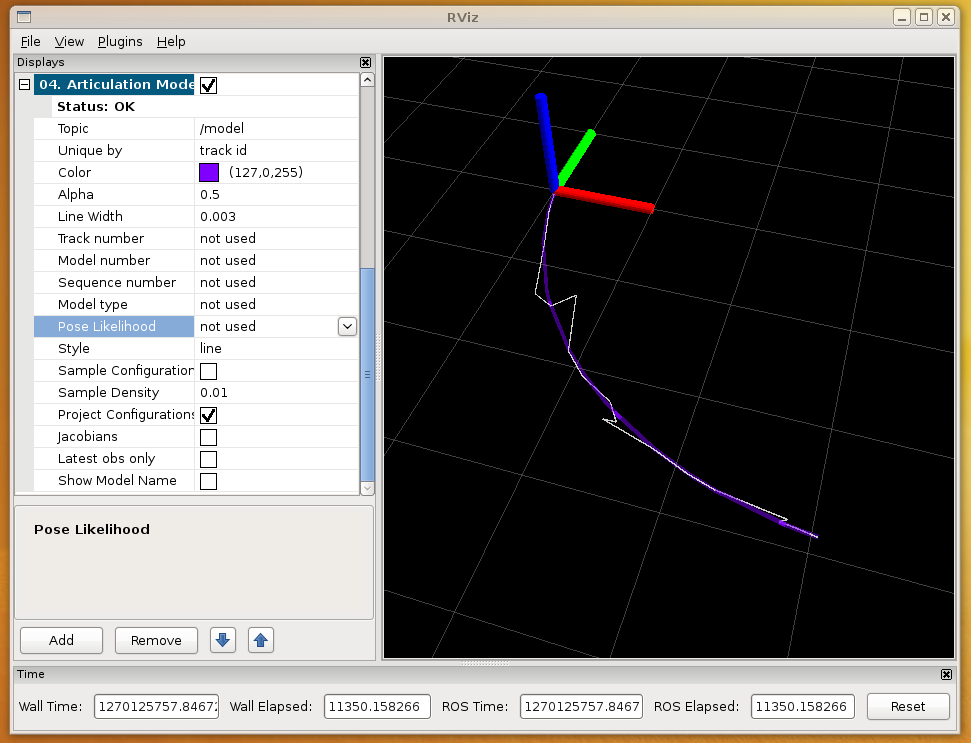
Yet, it can do much more than that. For example, check the project configurations option, to project the observed trajectories onto the model:
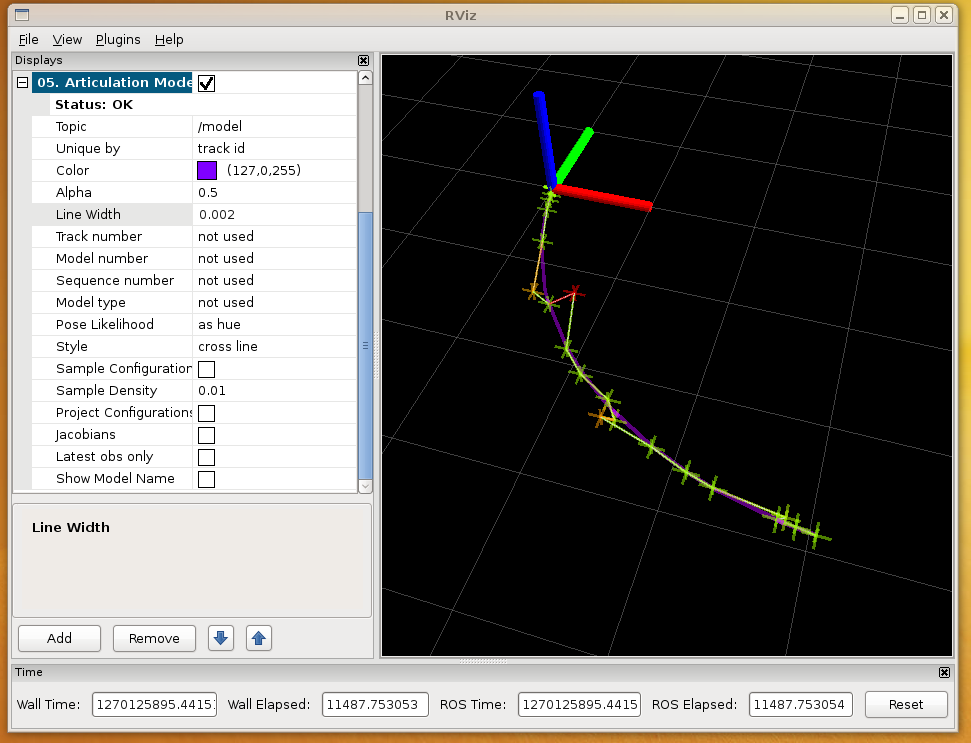
Note that you can add as many model displays as you want, subscribing to same or different topics.
For example, we can add a second display that shows the original trajectory, but colorizes it according to the pose likelihood under the model:
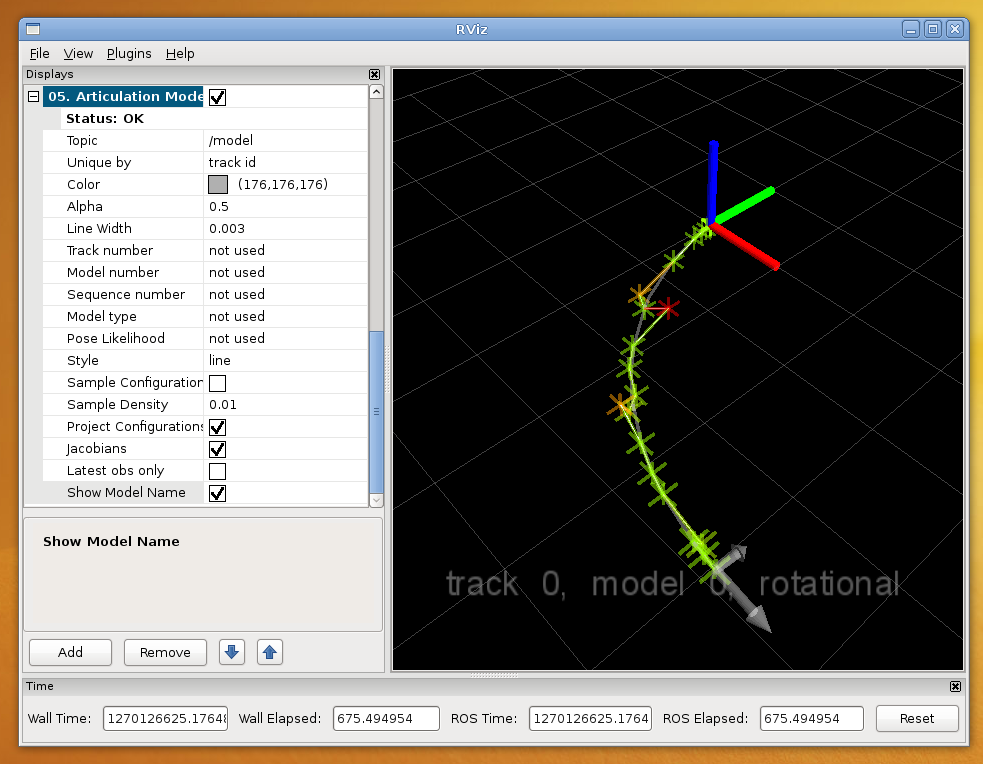
Finally, you can also enable to display the Jacobian and Hessian of the model, at the latest pose in the trajectory. Additionally, you can add a text label to the display, showing the model class name, the underlying track id and the model id.
