| Note: This tutorial assumes that you have completed the previous tutorials: ROS/Introduction. |
| |
Quick start guide
Description: Begin here. This tutorial demonstrates how to open a Kinect (or other OpenNI device) in ROS, introduces ROS tools for visualization and configuration, and explains how to get registered (depth + RGB) outputs like color point clouds.Tutorial Level: BEGINNER
Contents
Opening the device
Open a command line and launch the OpenNI driver like this:
roslaunch openni_launch openni.launch
That's it! openni.launch opens your Kinect and processes the raw data into convenient outputs like point clouds. See the reference documentation for all topics published by openni.launch. We'll explore some of them below.
Visualizing the data
rviz
We'll use the rviz 3D visualization environment to view point clouds:
rosrun rviz rviz
Set the Fixed Frame (top of the Display panel under Global Options) to /camera_link.
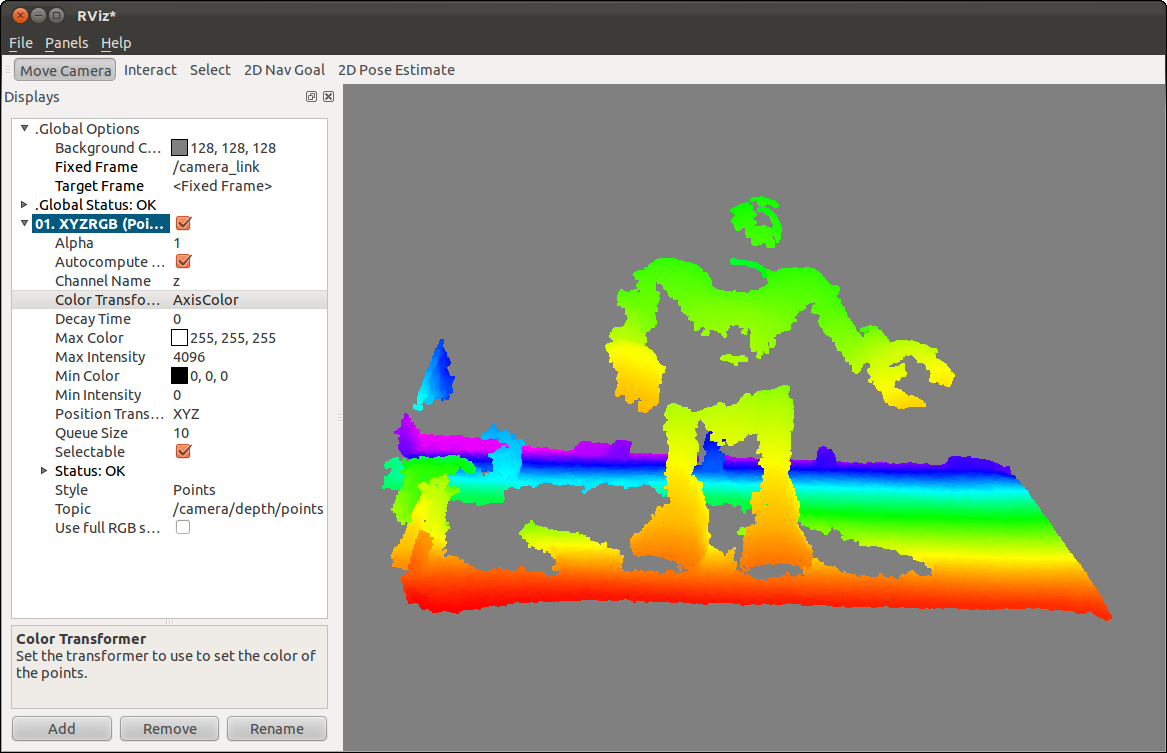
In the Displays panel, click Add and choose the PointCloud2 display. Set its topic to /camera/depth/points. Turning the background color to light gray can help with viewing.
This is the unregistered point cloud in the frame of the depth (IR) camera. It is not matched with the RGB camera images. We'll get to color point clouds below. For now, set Color Transformer to AxisColor to colormap the points by distance.
Also try opening an image display and check out the various image topics.
Image viewers
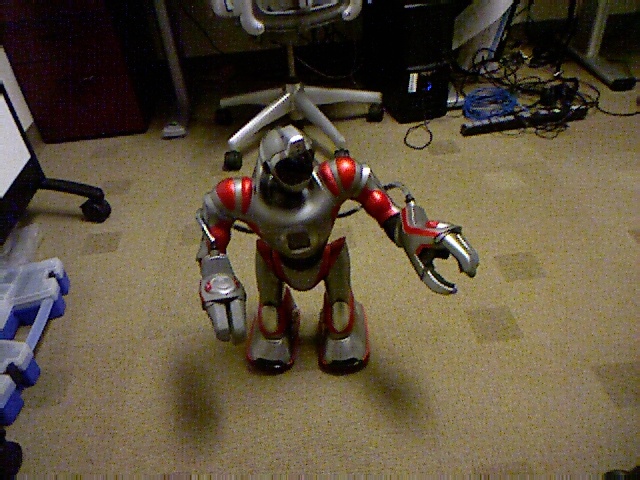
Alternatively you can use image_view to view both the RGB image:
rosrun image_view image_view image:=/camera/rgb/image_color
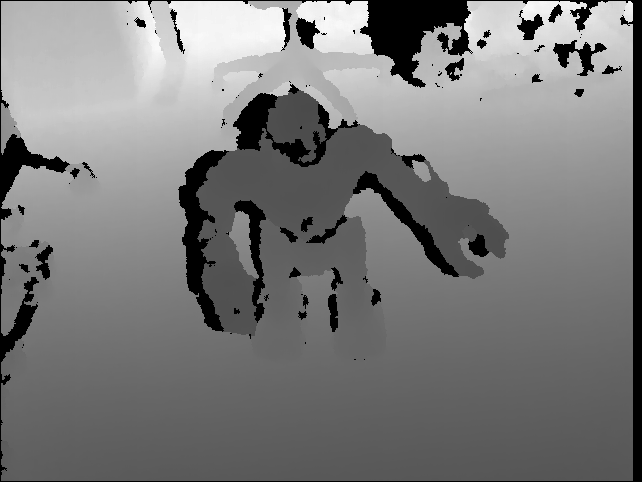
and the depth image:
rosrun image_view image_view image:=/camera/depth/image
|
|
image_view also contains the disparity_view viewer for sensor_msgs/DisparityImage messages:
rosrun image_view disparity_view image:=/camera/depth/disparity
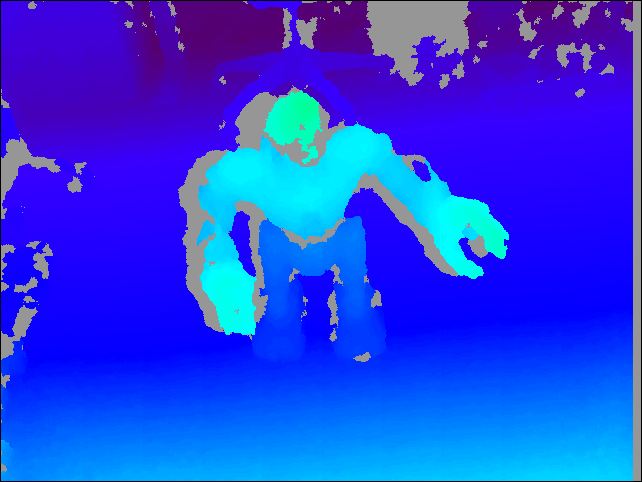
Although useful for visualization, for general 3D processing you are encouraged to use the point cloud or depth image topics rather than disparity images, which are particular to stereo. See REP 118 for technical details about depth images.
Registration: matching depth to color
The depth and color images come from two separate, slightly offset, cameras, so they do not perfectly overlap. However, for each pixel in the depth image, we can calculate its position in 3D space and reproject it into the image plane of the RGB camera. In this way we build up a registered depth image, where each pixel is aligned with its counterpart in the RGB image.
OpenNI has a builtin registration capability, which uses the Kinect factory calibration. We can use dynamic_reconfigure to change the ROS OpenNI driver's settings at runtime. Open the dynamic reconfigure GUI:
rosrun rqt_reconfigure rqt_reconfigure
Select /camera/driver from the drop-down menu. Enable the depth_registration checkbox.
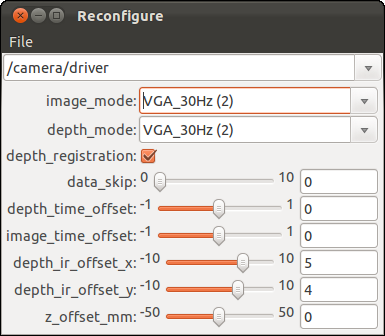
Note that the ROS driver is now receiving registered depth images from the underlying OpenNI framework; it does not have access to the unregistered data. The ROS driver no longer publishes in the unregistered /camera/depth/ namespace, but instead in /camera/depth_registered/.
For example, to view the registered disparity image:
rosrun image_view disparity_view image:=/camera/depth_registered/disparity
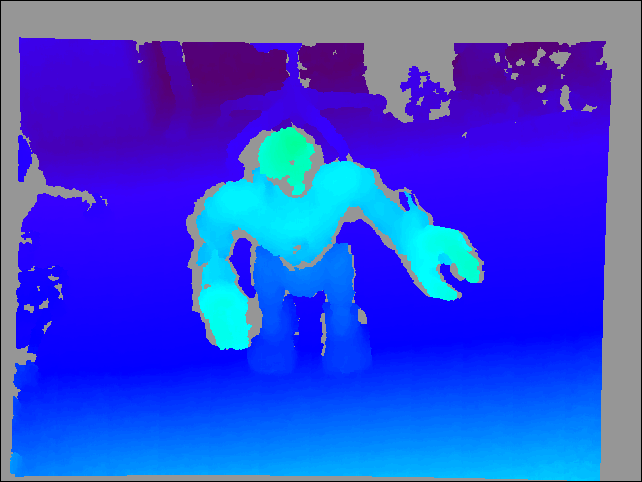
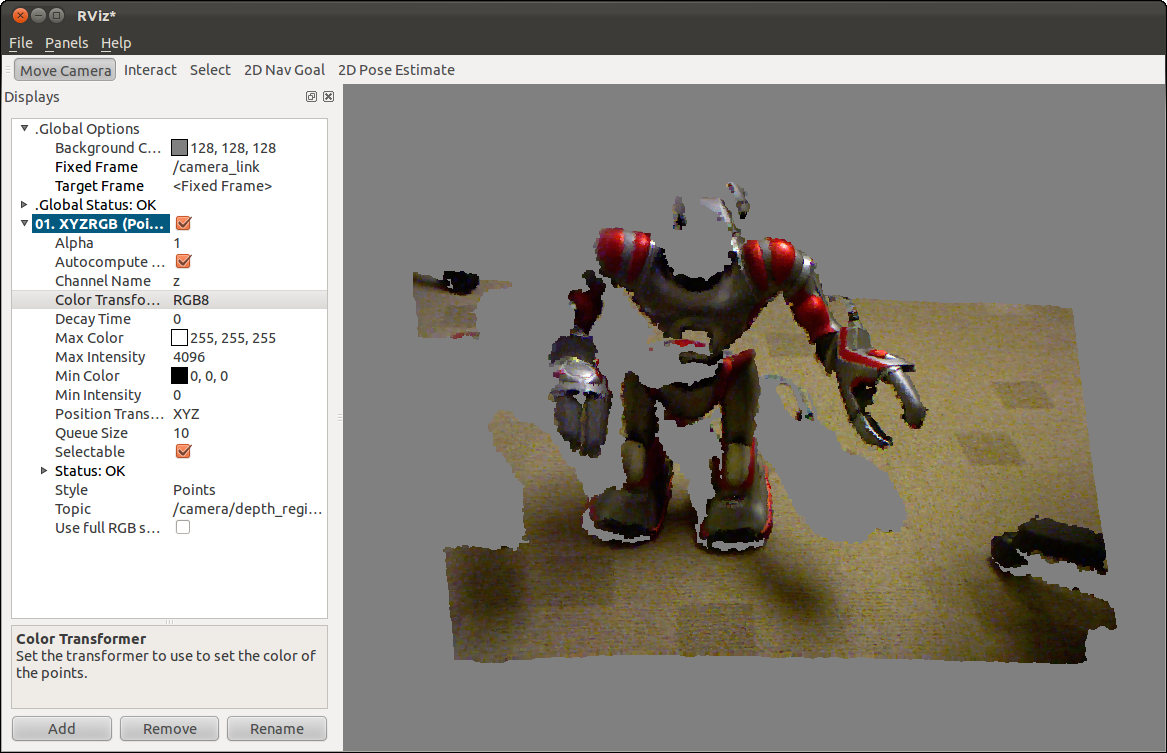
Now let's look at the registered point cloud. Go back to rviz, and change the topic of your PointCloud2 display to /camera/depth_registered/points. Set Color Transformer to RGB8. You should see a color, 3D point cloud of your scene.
