| Note: This tutorial assumes that you have completed the previous tutorials: Building a map in simulation. |
| |
Using Custom Maps in Simulation
Description: How to use a custom map for 2D navigation in Gazebo simulator.Tutorial Level: INTERMEDIATE
You should have a map file map.pgm from the previous section. Put the file in the pr2_gazebo package for now.
- Make sure everything from the previous step is shutdown, compile the 2dnav-stack
rosmake pr2_2dnav_gazebo
Create a new launch script my_map_sim.launch
   1 <launch>
   2   <!-- start up world -->
   3   <include file="$(find gazebo_worlds)/launch/office_world.launch"/>
   4
   5   <!-- start up robot -->
   6   <include file="$(find pr2_gazebo)/pr2.launch"/>
   7
   8   <!-- load map -->
   9   <node pkg="map_server" type="map_server" args="$(find pr2_gazebo)/map.pgm 0.05" respawn="true" name="map1" />
  10   <!-- if you have a map.pgm and a map.yaml, use this instead -->
  11   <!-- <node pkg="map_server" type="map_server" args="$(find some_package)/map.yaml" respawn="true" name="map1" /> -->
  12
  13   <!-- Tuck Arms For Navigation -->
  14   <node pkg="pr2_tuckarm" type="tuck_arms.py" args="b" output="screen" name="tuck_arms"/>
  15
  16   <!-- nav-stack -->
  17   <include file="$(find pr2_2dnav_gazebo)/2dnav-stack-amcl.launch"/>
  18
  19   <!-- for visualization -->
  20   <include file="$(find 2dnav_pr2)/rviz/rviz_move_base.launch"/>
  21
  22 </launch>
- roslaunch it
export ROBOT=sim
roslaunch my_map_sim.launch
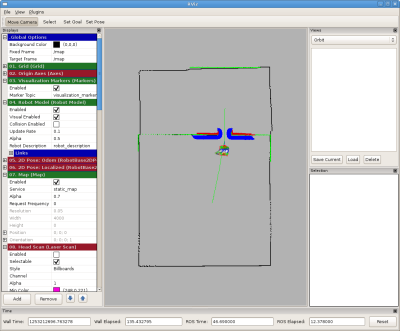
Now you should have the 2D navigation stack running for PR2 in simulation using the map you have just created. You might want to consult the navigation stack and perform tasks such as localization and set goal.


