| Note: This tutorial assumes that you have completed the previous tutorials: rtmros_nextage/Tutorials/Install NEXTAGE OPEN software on your machine. |
| |
Run simulated Hiro / NEXTAGE OPEN robot
Description: Introduce a few ways of how to run the processes simulated robot.Tutorial Level: BEGINNER
Next Tutorial: Running services, operating via scripts and GUI
Contents
NOTE: All the tutorials available under the URL http://wiki.ros.org/rtmros_nextage/Tutorials are applicable to the multiple products of Kawada Industries; Hiro (only with the one that opensource software is installed) and NEXTAGE OPEN. To simplify the notation in the rest of the tutorials, we use HiroNXO to appoint the aforementioned robots.
Simulation for HiroNXO
There's levels of "simulation" for any kind of systems, but here's how we define it for HiroNXO:
- 3D physics emulation that is happening in OpenRTM layer of HiroNXO systems.
- Visualization of sensor inputs and robot's joints status (i.e. what RViz is capable of).
- 3D physics emulation that is happening in ROS layer of HiroNXO systems.
How to run each level of simulation is discussed in this page.
Dynamics simulation in OpenRTM layer
This is level-1 HiroNXO simulation.
If you look back the component structure of HiroNXO systems, robot's core functions are running on a framework called [[openrtm|OpenRTM]]. With that in mind, it is possible to virtually realize the robot's functionality by using OpenRTM-based simulator called hrpsys-simulator (along with OpenHRP3), if you do not need the higher level of features that ROS offers.
In many cases where you just like to run your program without specific purpose, this should be enough.
Launch a simulator that "mimic"s a real robot. Notice the command is rtmlaunch, not roslaunch:
$ rtmlaunch hironx_ros_bridge hironx_ros_bridge_simulation.launch   (HIRO)
$ rtmlaunch nextage_ros_bridge nextage_ros_bridge_simulation.launch (NEXTAGE OPEN)
- First, load a virtual robot on the simulator by:
- This launch file does mainly following two things:
$ rtmlaunch hironx_ros_bridge hironx_startup.launch
This simulated robot (and the real one too) runs only on OpenRTM-based software. Now, in order for you to operate the robot via ROS, we need to create a "bridge" between two worlds.
$ roslaunch hironx_ros_bridge hironx_ros_bridge.launch    (HIRO)
$ roslaunch nextage_ros_bridge nextage_ros_bridge.launch    (NEXTAGE OPEN)
If you see the following or similar on command prompt, your simulator is good:
[ INFO] [1375160303.399785831, 483.554999999]: [HrpsysSeqStateROSBridge0] @onExecutece 0 is working at 201[Hz]
[ INFO] [1375160304.408500642, 484.544999999]: [HrpsysSeqStateROSBridge0] @onExecutece 0 is working at 198[Hz]
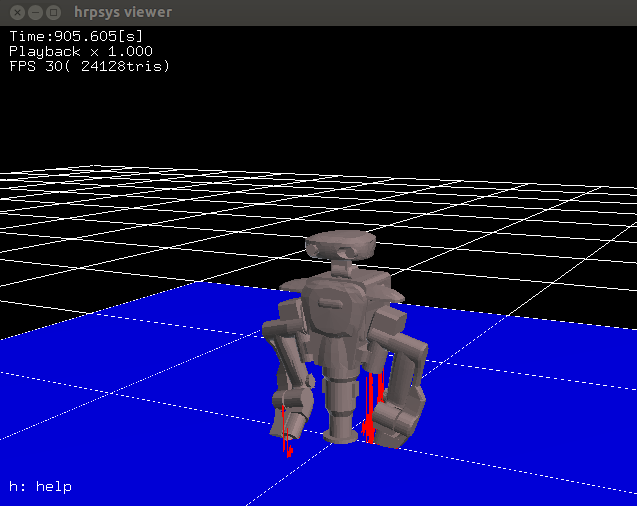
And a robot on hrpsys-simulator viewer:
Connecting to a simulated robot running on a remote host
When connecting remotely via python script, you need to specify the instance name of the robot by using --robot argument. E.g.,
ipython -i `rospack find hironx_ros_bridge`/scripts/hironx.py -- --host nxo_simulation_host --robot "HiroNX(Robot)0"
Visualization of sensor inputs and robot's joints status
This is level-2 HiroNXO simulation.
(TBD)
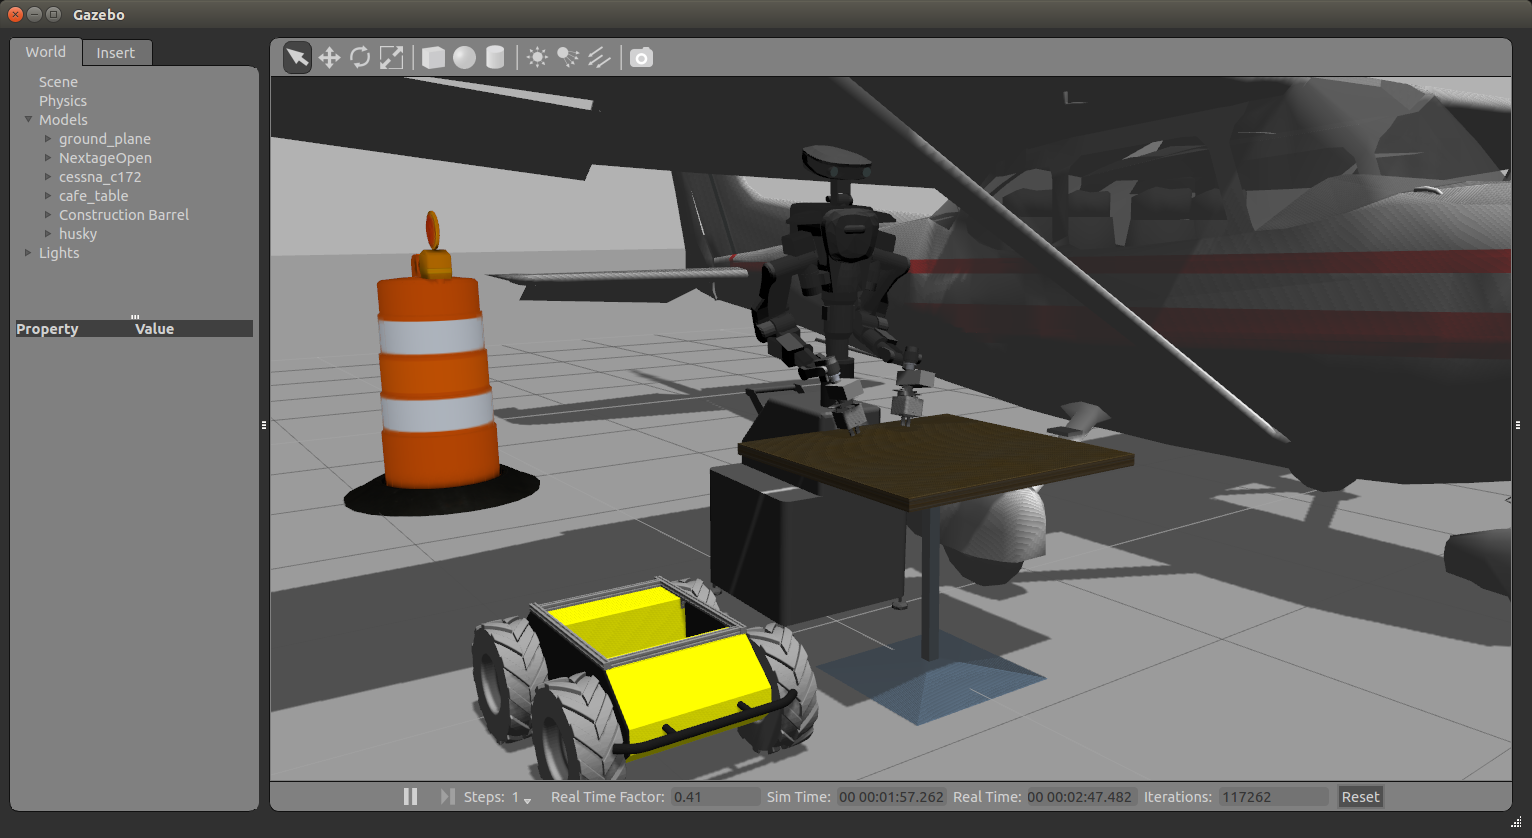
3D physics emulation with ROS and Gazebo
This is level-3 HiroNXO simulation.
roslaunch nextage_gazebo nextage_world.launch

(TBD)


