| |
First Flight
Description: This tutorial walks through the first 'flight' using starmac-ros-pkg. This is done using the simple quadrotor simulator provided by flyer_sim and so you can do this tutorial without an actual robot.Tutorial Level: BEGINNER
Contents
Overview
In this tutorial you will learn how to fly a quadrotor using starmac-ros-pkg. Like all pilots, you will start your flight training in a simulator. The flyer_sim package implements a simulator that is representative of a generic quadrotor vehicle.
Requirements
starmac-ros-pkg installed (see previous tutorial)
Joystick connected and calibrated. NOTE: this tutorial is written assuming you are using a Logitech Extreme3D Pro joystick.
Startup
First, start up roscore:
roscore
- Then, in a new terminal, bring up the simulator:
roslaunch flyer_common bringup_sim.launch show_plots:=false
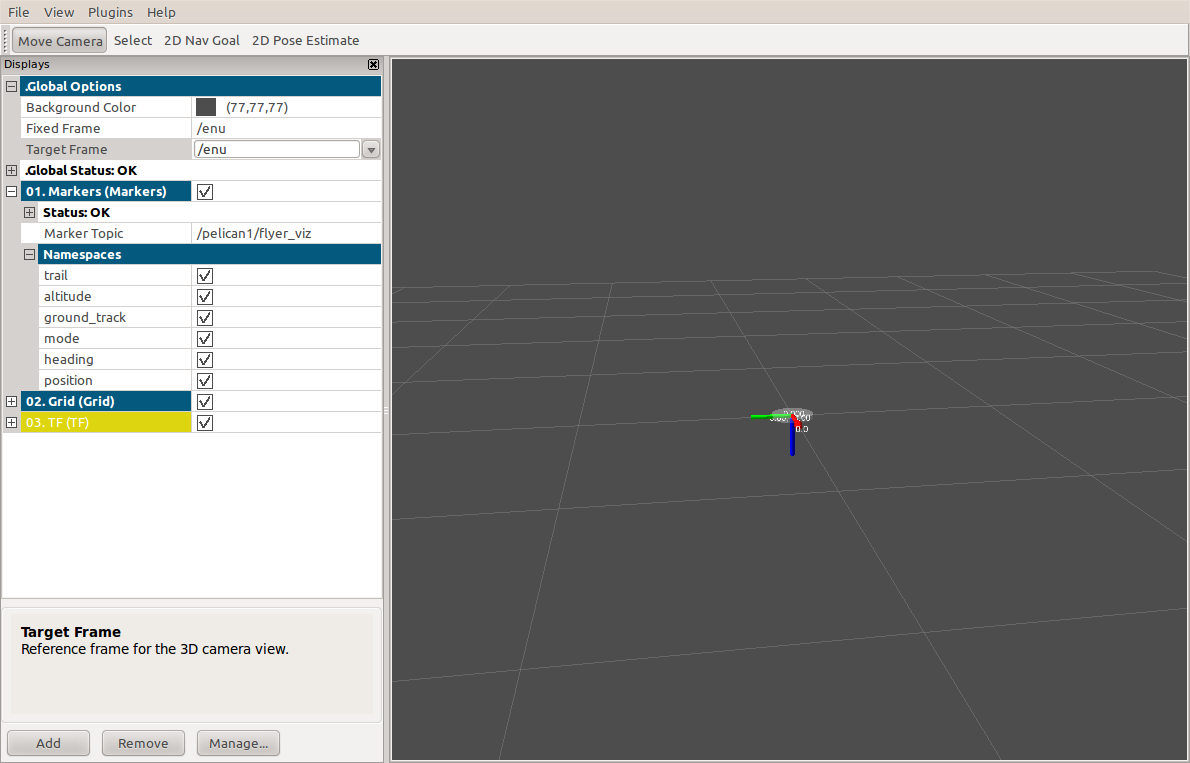
The simulator launch file will bring up a runtime_monitor window, a rviz window and a rxconsole window. In the terminal where you ran roslaunch, you should see something like the following:
... logging to /home/bouffard/.ros/log/a06b24a6-321f-11e0-9f53-0024d7181a34/roslaunch-lipschitz-7943.log
Checking log directory for disk usage. This may take awhile.
Press Ctrl-C to interrupt
Done checking log file disk usage. Usage is <1GB.

started roslaunch server http://127.0.0.1:35370/
.
.
.
process[pelican1/runtime_monitor-20]: started with pid [8088]
process[pelican1/sim_adapter-21]: started with pid [8095]
process[pelican1/flyer_viz-22]: started with pid [8099]
process[pelican1/rviz-23]: started with pid [8100]
[pelican1/standby_rosh-10] process has finished cleanly.
log file: /home/bouffard/.ros/log/a06b24a6-321f-11e0-9f53-0024d7181a34/pelican1/standby_rosh-10*.log
Keep this terminal window open. To stop running the simulator, return to this terminal window and type Ctrl+C.
There also will be many log messages in rxconsole. The very last one should say "modes_to_standby script finished":

The rviz window should look like this:

Control Modes
Each control mode can be in one of three states:
idle - mode is loaded but not receiving data and not producing output
standby - mode is loaded, receiving data and producing output, but that output is not routed to the vehicle's actuators
active - mode is loaded, receiving data, producing output, and that output is routed to the vehicle's actuators. Only one control mode can be active at any given time.
At startup, the idle control mode (not to be confused with the idle state) is active. By default the controller node starts up with the idle mode active, and attitude mode in standby. In addition, the bringup_sim.launch launchfile starts the hover mode in standby. Modes must be in standby state before they can be made active.
To summarize, after starting the simulator the following three modes are in play:
Control Mode |
State |
idle |
active |
attitude |
standby |
hover |
standby |
Verify the active and standby modes using rostopic echo:
$ rostopic echo -n 1 /pelican1/controller/status
state: 4
info: old mode in STANDBY -- mode transition complete!
active_mode: attitude
standby_modes: ['hover', 'idle']
---
$
Flying in Attitude Mode
Since this is only a simulator and you can't hurt anyone, you might as well get to some flying! But first, you have to change from idle mode into attitude mode.
Change Modes
Changing modes requires two button presses. The first issues a control_mode to_active command and the second confirms that command.
- First, move the altitude lever all the way up and then down again. This ensures that the altitude axis data from the joystick is refreshed, and also that zero altitude is being commanded. This step only has to be done the first time you change modes.
Next, press joystick button 3 (sends control_mode to_active attitude command)
Finally, press joystick button 9 (sends confirm command)
The control modes will now have the following configuration:
Control Mode |
State |
idle |
standby |
attitude |
active |
hover |
standby |
Attitude Mode Flight
The attitude control mode is so named because in this mode, you directly command the pitch and roll attitude angles of the aircraft. If you are not familiar with the standard aircraft attitude angle (pitch, yaw, roll) conventions, please see, e.g., this.
In attitude mode, as in all control modes, you must press and hold the joystick trigger (button 1) to enable the motors. In this way, the joystick trigger is like a deadman switch--if things go really wrong, letting go of the joystick should remove flight power from the quadrotor. (Note: For a specific real vehicle there maybe other different types of safeguards, appropriate for somewhat different emergency situations.)
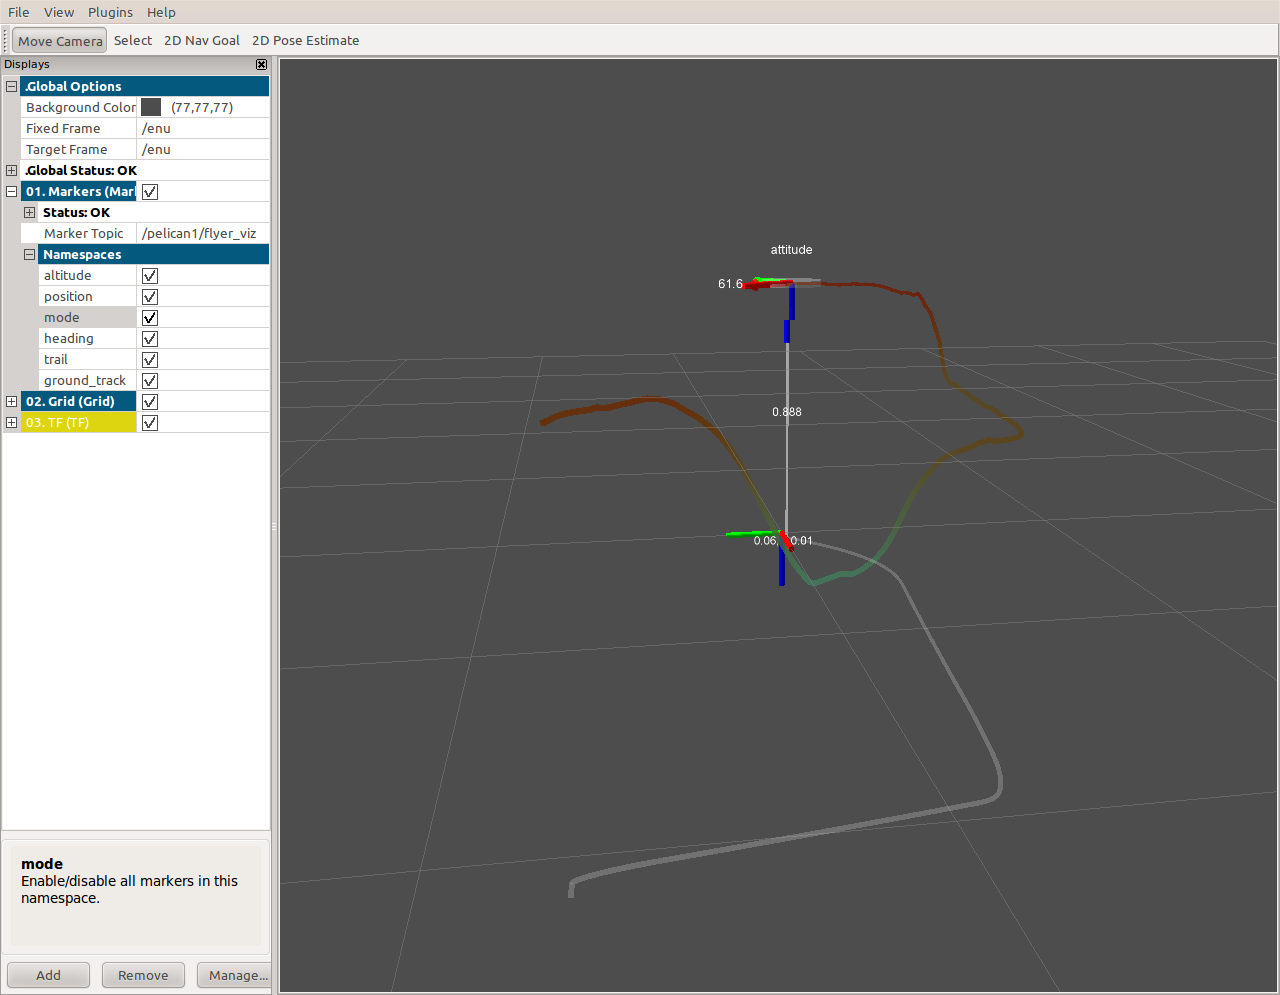
Now, with the rviz window open,
- Press and hold the joystick trigger
- Slowly increase the altitude using the lever
- Next, try moving laterally by deflecting the joystick in roll and pitch.
When you are ready to try hover mode, try releasing the trigger while at altitude and notice how the quadrotor immediately drops to the ground. This is not the recommended technique for landing! ![]()
Flying in Hover Mode
In the hover control mode, the pitch and roll attitude angles are computed automatically by PID controllers so that the quadrotor maintains its lateral position.
Change Modes
Press joystick button 4 (sends control_mode to_active hover command)
Press joystick button 9 (sends confirm command)
The control modes will now have the following configuration:
Control Mode |
State |
idle |
standby |
attitude |
standby |
hover |
active |
Hover Mode Flight
In hover mode the altitude lever still allows manual altitude change just as in attitude mode.
- Press and hold the joystick trigger
- Slowly increase the altitude using the lever
It is possible to adjust the hover setpoint. This is done by pressing and holding joystick button 6 and deflecting the joystick. Try adjusting the hover setpoint; while continuing to hold the trigger,
- Press and hold joystick button 6
- Deflect the joystick to change the hover setpoint
- Releast joystick button 6. The vehicle will hover at the point where it is when you release button 6.
Visualization
TODO: Describe the elements of the visualization in rviz.


