| |
Using a URDF in Gazebo
Description: Preliminary tutorial on how to spawn and control your robot in Gazebo.Keywords: URDF, Gazebo
Tutorial Level: INTERMEDIATE
Contents
Please download the URDF simulation tutorial from github or using aptitude, i.e. for ROS kinetic:
sudo apt-get install ros-kinetic-urdf-sim-tutorial
Nonfunctional Gazebo Interface
We can spawn the model we already created into Gazebo using gazebo.launch
roslaunch urdf_sim_tutorial gazebo.launch
This launch file
Loads the urdf from the macro tutorial into the parameter description (as before)
- Launches an empty gazebo world
- Runs the script to read the urdf from the parameter and spawn it in gazebo.
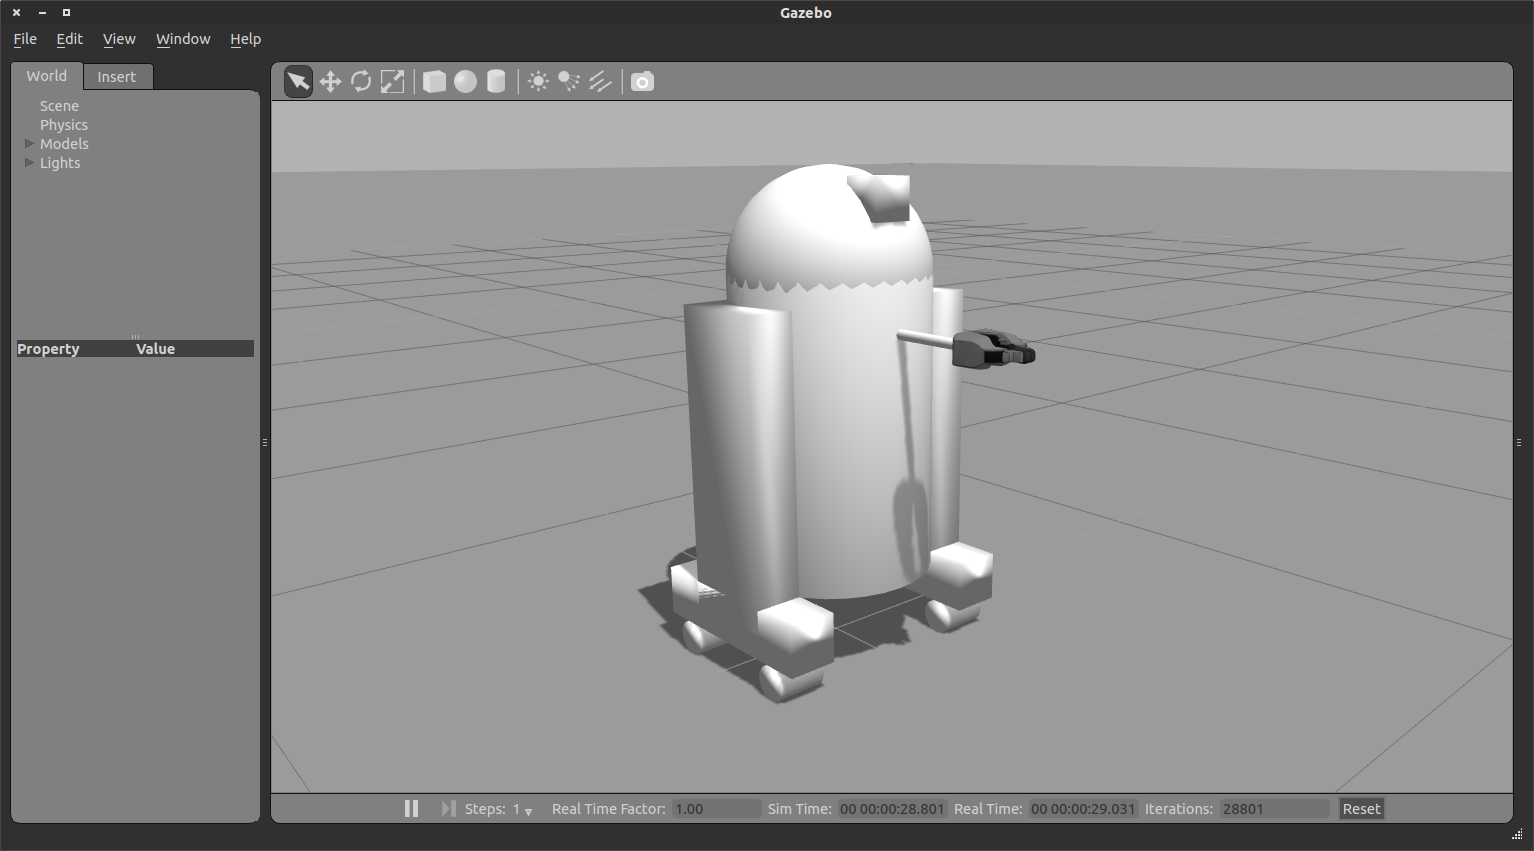
- By default, the gazebo gui will also be displayed, and look like this:
Note: If you download the package directly from git, then please create a workspace and put the two folders under $yourworkspacefolder/src and compile with command catkin_make .

However, it doesn't do anything, and is missing lots of key information that ROS would need to use this robot. Previously we had been using joint_state_publisher to specify the pose of each joint. However, the robot itself should provide that information in the real world or in gazebo. Yet without specifying that, Gazebo doesn't know to publish that information.
To get the robot to be interactive (with you and ROS), we need to specify two things: Plugins and Transmissions.
Gazebo Plugin
To get ROS to interact with Gazebo, we have to dynamically link to the ROS library that will tell Gazebo what to do. Theoretically, this allows for other Robot Operating Systems to interact with Gazebo in a generic way. In practice, its just ROS.
To link Gazebo and ROS, we specify the plugin in the URDF, right before the closing </robot> tag:
You can see this in https://github.com/ros/urdf_sim_tutorial/blob/master/urdf/09-publishjoints.urdf.xacro and by running roslaunch urdf_sim_tutorial gazebo.launch model:=urdf/09-publishjoints.urdf.xacro
However, this won't do anything new yet. For that we need to specify more information outside the URDF.
Spawning Controllers
Now that we've linked ROS and Gazebo, we need to specify some bits of ROS code that we want to run within Gazebo, which we generically call controllers. These are initially loaded into the ROS parameter space. We have a yaml file joints.yaml that specifies our first controller.
type: "joint_state_controller/JointStateController"
publish_rate: 50
This controller is found in the joint_state_controller package and publishes the state of the robot's joints into ROS directly from Gazebo.
In 09-joints.launch you can see how we should load this yaml file into the r2d2_joint_state_controller namespace. Then we call the [[controller_manager]]/spawner script with that namespace which loads it into Gazebo.
You can launch this, but its still not quite there. roslaunch urdf_sim_tutorial 09-joints.launch
This will run the controller and in fact publish on the /joint_states topic....but with nothing in them.
header:
  seq: 652
  stamp:
    secs: 13
    nsecs: 331000000
  frame_id: ''
name: []
position: []
velocity: []
effort: []
What else do you want Gazebo!? Well, it wants to know what joints to publish information about.
Transmissions
For every non-fixed joint, we need to specify a transmission, which tells Gazebo what to do with the joint. Let's start with the head joint. Add the following to your URDF:
   1   <transmission name="head_swivel_trans">
   2     <type>transmission_interface/SimpleTransmission</type>
   3     <actuator name="$head_swivel_motor">
   4       <mechanicalReduction>1</mechanicalReduction>
   5     </actuator>
   6     <joint name="head_swivel">
   7       <hardwareInterface>hardware_interface/PositionJointInterface</hardwareInterface>
   8     </joint>
   9   </transmission>
- For introductory purposes, just treat most of this chunk of code as boilerplate.
- The first thing to note is the joint element. The name should match the joint declared earlier.
- The hardwareInterface will be important as we explore the plugins.
You can run this URDF with our previous launch configuration. roslaunch urdf_sim_tutorial 09-joints.launch model:=urdf/10-firsttransmission.urdf.xacro
Now, the head is displayed properly in RViz because the head joint is listed in the joint_states messages.
header:
  seq: 220
  stamp:
    secs: 4
    nsecs: 707000000
  frame_id: ''
name: ['head_swivel']
position: [-2.9051283156888985e-08]
velocity: [7.575990694887896e-06]
effort: [0.0]
We could continue adding transmissions for all the non-fixed joints (and we will) so that all the joints are properly published. But, there's more to life than just looking at robots. We want to control them. So, let's get another controller in here.
Joint Control
Here's the next controller config we're adding.
type: "position_controllers/JointPositionController"
joint: head_swivel
This specifies to use the a JointPositionController from the position_controllers package to control the head_swivel transmission. Note that hardware interface in the URDF for this joint matches the controller type.
Now we can launch this with the added config as before roslaunch urdf_sim_tutorial 10-head.launch
Now Gazebo is subscribed to a new topic, and you can then control the position of the head by publishing a value in ROS. rostopic pub /r2d2_head_controller/command std_msgs/Float64 "data: -0.707"
When this command is published, the position will immediately change to the specified value. This is because we did not specify any limits for the joint in our urdf. However, if we change the joint, it will move gradually.
roslaunch urdf_sim_tutorial 10-head.launch model:=urdf/11-limittransmission.urdf.xacro
Another Controller
We can change the URDF for the Gripper joints in a similar way. However, instead of individually controlling each joint of the gripper with its own ROS topic, we might want to group them together. For this, we just need to specify a different controller in the ROS parameters.
type: "position_controllers/JointGroupPositionController"
joints:
  - gripper_extension
  - left_gripper_joint
  - right_gripper_joint
To launch this, roslaunch urdf_sim_tutorial 12-gripper.launch
With this, we can instead specify the position with an array of floats. Open and out:
rostopic pub  /r2d2_gripper_controller/command std_msgs/Float64MultiArray "layout:
  dim:
  - label: ''
    size: 3
    stride: 1
  data_offset: 0
data: [0, 0.5, 0.5]"
Closed and retracted:
rostopic pub  /r2d2_gripper_controller/command std_msgs/Float64MultiArray "layout:
  dim:
  - label: ''
    size: 3
    stride: 1
  data_offset: 0
data: [-0.4, 0, 0]"
The Wheels on the Droid Go Round and Round
To drive the robot around, we specify yet another transmission for each of the wheels from within the wheel macro.
   1     <transmission name="${prefix}_${suffix}_wheel_trans">
   2       <type>transmission_interface/SimpleTransmission</type>
   3       <actuator name="${prefix}_${suffix}_wheel_motor">
   4         <mechanicalReduction>1</mechanicalReduction>
   5       </actuator>
   6       <joint name="${prefix}_${suffix}_wheel_joint">
   7         <hardwareInterface>hardware_interface/VelocityJointInterface</hardwareInterface>
   8       </joint>
   9     </transmission>
This is just like the other transmissions, except
- It uses macro parameters to specify names
It uses a VelocityJointInterface.
Since the wheels are actually going to touch the ground and thus interact with it physically, we also specify some additional information about the material of the wheels.
See http://gazebosim.org/tutorials/?tut=ros_urdf for more details.
We could specify controllers for each of the individual wheels, but where's the fun in that? Instead we want to control all the wheels together. For that, we're going to need a lot more ROS parameters.
  type: "diff_drive_controller/DiffDriveController"
  publish_rate: 50

  left_wheel: ['left_front_wheel_joint', 'left_back_wheel_joint']
  right_wheel: ['right_front_wheel_joint', 'right_back_wheel_joint']

  wheel_separation: 0.44

  # Odometry covariances for the encoder output of the robot. These values should
  # be tuned to your robot's sample odometry data, but these values are a good place
  # to start
  pose_covariance_diagonal: [0.001, 0.001, 0.001, 0.001, 0.001, 0.03]
  twist_covariance_diagonal: [0.001, 0.001, 0.001, 0.001, 0.001, 0.03]

  # Top level frame (link) of the robot description
  base_frame_id: base_link

  # Velocity and acceleration limits for the robot
  linear:
    x:
      has_velocity_limits    : true
      max_velocity           : 0.2   # m/s
      has_acceleration_limits: true
      max_acceleration       : 0.6   # m/s^2
  angular:
    z:
      has_velocity_limits    : true
      max_velocity           : 2.0   # rad/s
      has_acceleration_limits: true
      max_acceleration       : 6.0   # rad/s^2
The DiffDriveController subscribes to a standard Twist cmd_vel message and moves the robot accordingly.
roslaunch urdf_sim_tutorial 13-diffdrive.launch
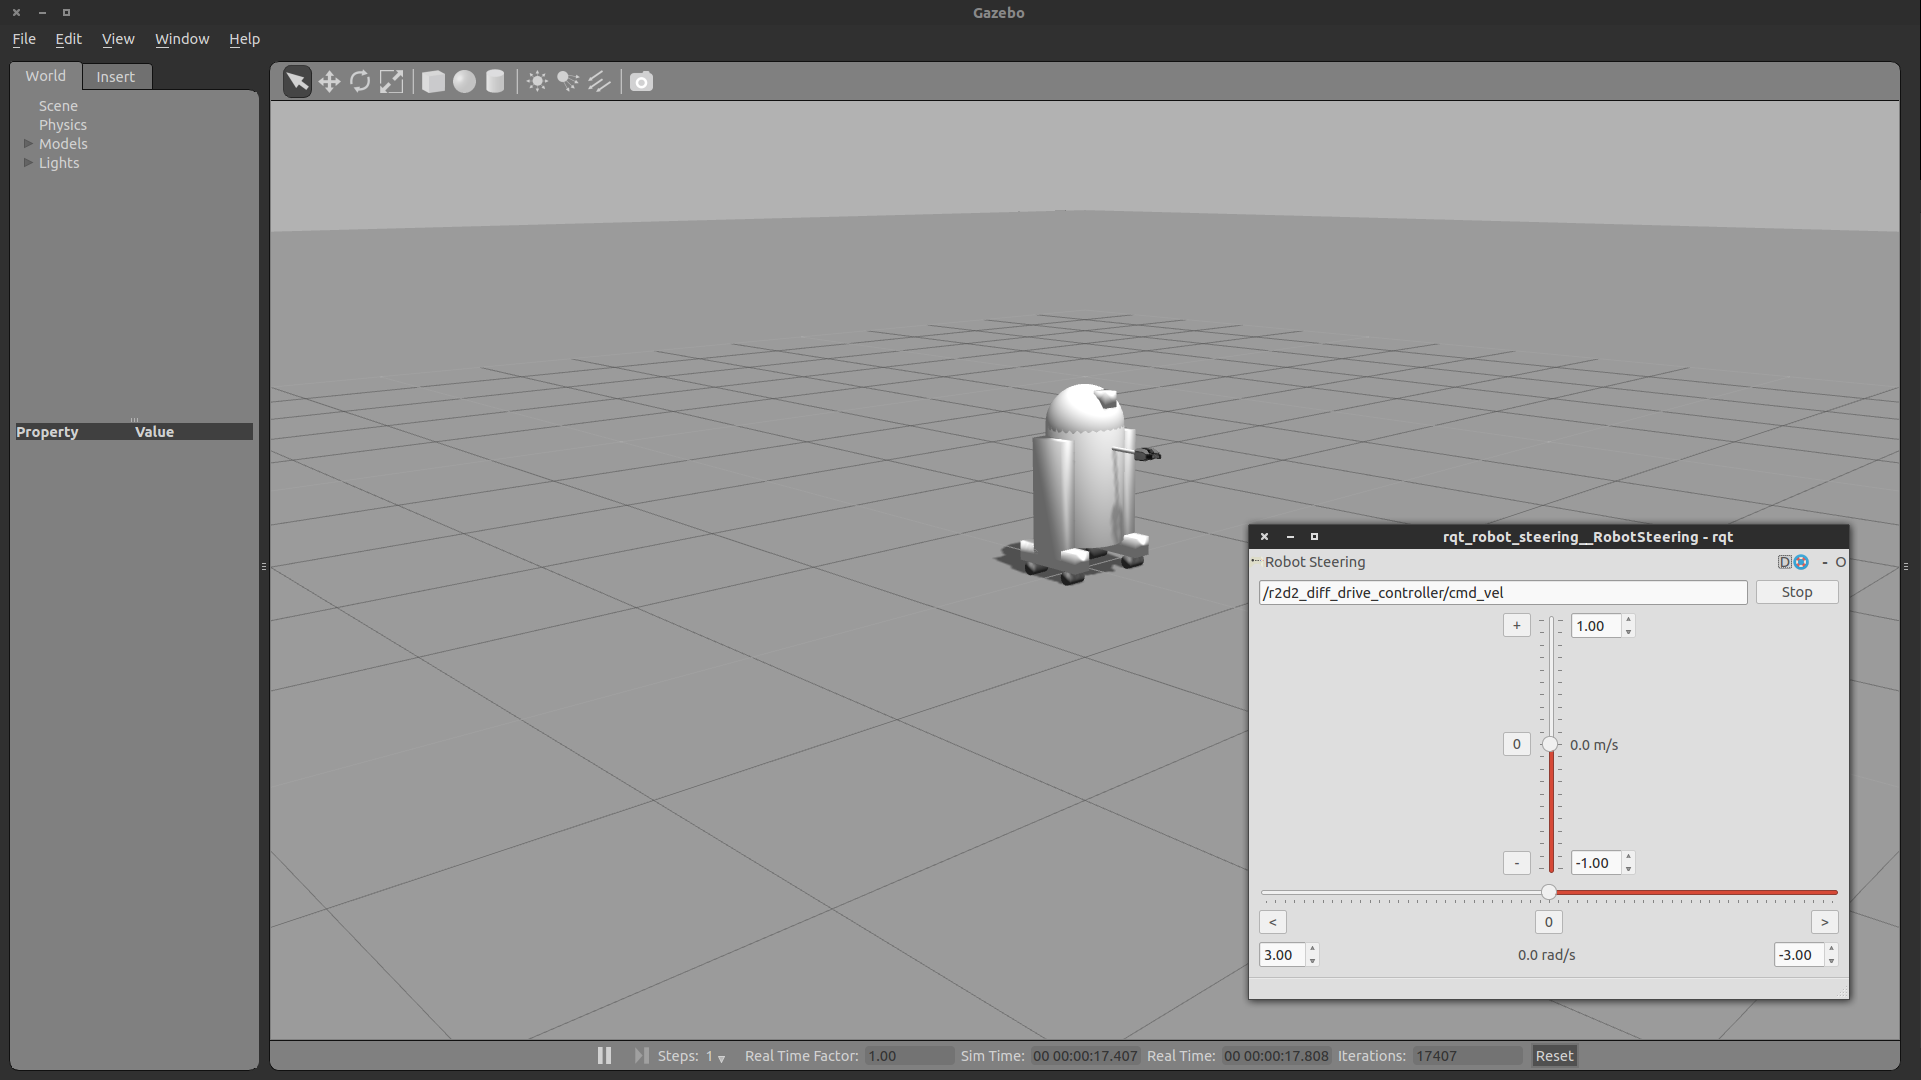
In addition to loading the above configuration, this also opens the RobotSteering panel, allowing you to drive the R2D2 robot around, while also observing its actual behavior (in Gazebo) and it's visualized behavior (in RViz):

Congrats! Now you're simulating robots with URDF.


