| Note: This tutorial assumes that you have completed the previous tutorials: How to use Hokuyo laser scanners with the hokuyo_node. |
| |
How to Dynamically Reconfigure the hokuyo_node
Description: This tutorial covers using the reconfigure_gui to dynamically reconfigure the hokuyo_node to run with different parameters. After reading this tutorial, you should be able to bring up the reconfigure_gui and change the hokuyo_node parameters.Keywords: reconfigure, Hokuyo, parameters, laser driver, laser, laser scanner, laser scan
Tutorial Level: BEGINNER
Next Tutorial: How to dynamically reconfigure the hokuyo_node from the command line or code.
Parameters
The hokuyo_node has a wide range of parameters you can set to control how the laser operates. The parameter descriptions can be found here.
Compiling
Start by getting the dependencies and compiling dynamic_reconfigure.
$ rosdep install dynamic_reconfigure
$ rosmake dynamic_reconfigure
Running the reconfigure_gui
In a new terminal, run the reconfigure_gui:
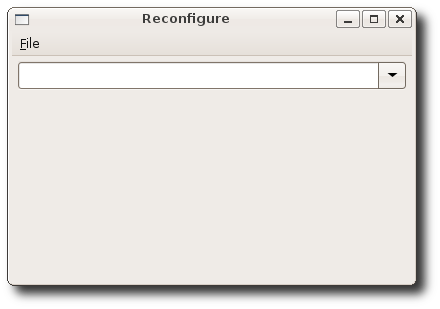
$ rosrun rqt_reconfigure rqt_reconfigure
You will see something similar to:
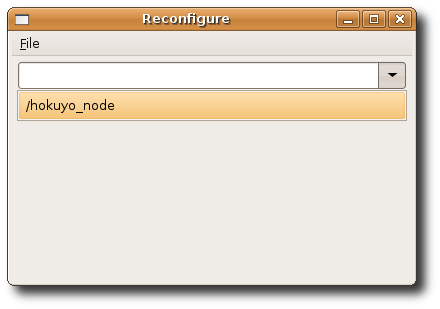
Now that the reconfigure_gui is running we need to select the hokuyo_node connected to our laser scanner.
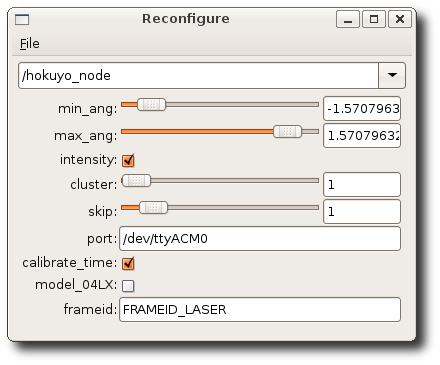
Once you have selected the hokuyo_node connected to your laser scanner you will see the editable parameters.
You can see that reconfigure_gui shows all of the parameters that can be modified.


